CINDER SHOPS
TOOLS
The tools I use in my modeling projects.
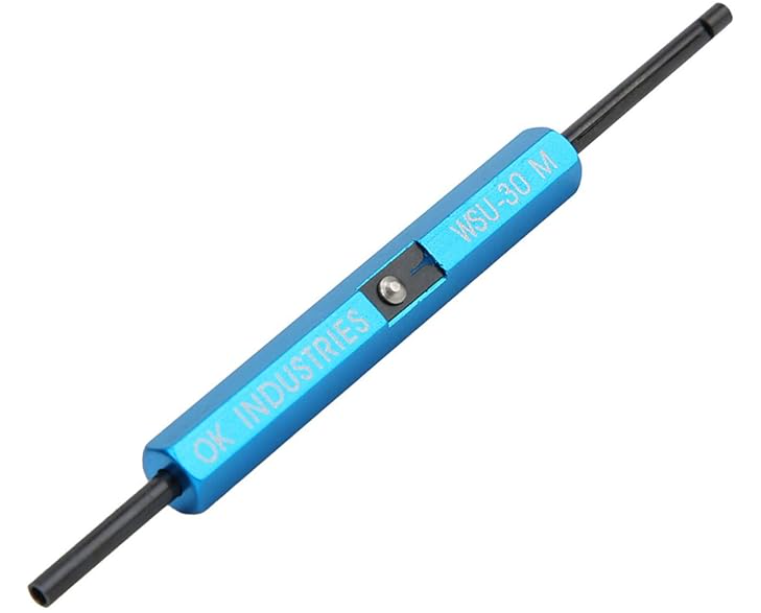
Wire Twister Tool
Of all the tools I’ve bought since I started working on my electric train layouts, this one has turned out to be the handiest — by far. It’s a manual wire-twisting tool. Old technology, but incredibly effective. Versions of this tool go all the way back to the Mercury space missions, and once you use it, you understand why it’s still around. I mostly work with very small wire — typically 30-gauge — for layout lighting, individual lamps, LEDs, and low-current electronics. This tool makes splicing those tiny wires fast, clean, and consistent. When you click the link, it takes you directly to Amazon, where you’ll pay the regular price. I do earn a small commission on qualifying purchases, but it doesn’t affect the cost in any way. Here’s how I use it: strip the wires, drop two or three into the twisting tool, give it a spin, and you get a tight, even mechanical connection. Pull the tool off, slide heat shrink over it, and you’re done. No soldering iron, no burnt fingers, no cold joints. I use it constantly to extend wires, make clean connections to terminal blocks, and attach leads directly to LEDs or other electronic components. Twist the wire onto the component lead, snip the excess, and you’ve got a solid connection. I also use this tool on connector pins that go into my terminal blocks. Instead of soldering the wire to the pin, I twist it on with this tool. Add a tiny drop of UV-activated superglue (which I also use and list separately), and the connection is permanent. In real-world use, it’s at least as reliable as solder — often better — with no chance of heat damage. Simple tool. Old-school idea. A real problem-solver if you do fine wiring.
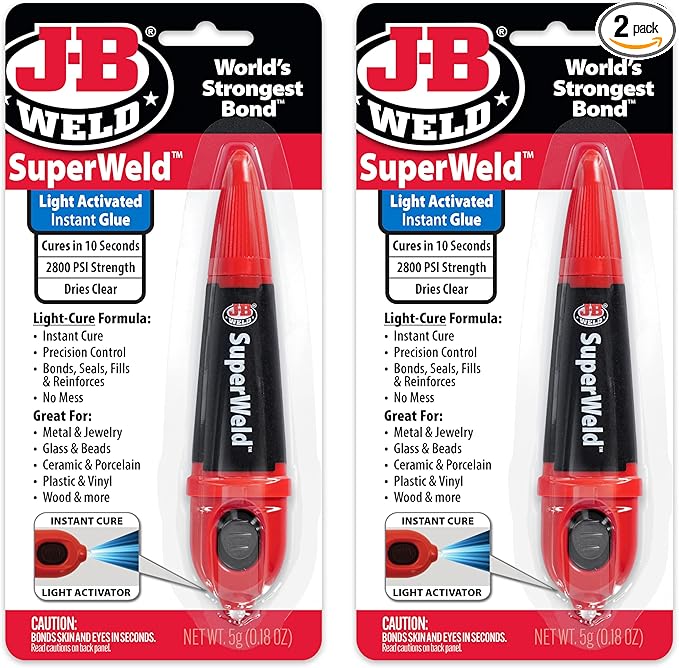
UV Reactive Super Glue
JB Product Super Weld has quietly become one of the most important materials on my workbench, both for electronics and for general layout construction. At first glance it looks like ordinary super glue, but it’s not. This is UV-reactive adhesive. You apply a small amount, position the parts, then hit it with the built-in black light and it cures almost instantly — usually in just a few seconds. No waiting, no clamping, no guessing if it set or not. I use a lot of this stuff. Roughly a tube a week. Once you get used to it, regular super glue feels slow and unpredictable by comparison. Where it really shines for me is on wiring. When I use twist-on or wrapped electrical connections, I’ll twist the wire in place, add a tiny partial drop of Super Weld, hit it with the UV light, and it’s done. The wire is locked in permanently. There’s no chance of it sliding off, loosening over time, or being pulled free during handling. It’s a must-have for my wiring distribution system, especially for fine-gauge wire, connector pins, and terminal work. I also use it constantly for “instant welding” of small parts, fixtures, and assemblies anywhere on the layout where I want a fast, clean, permanent bond. Clicking the link takes you directly to Amazon, where you’ll pay the regular price. I do earn a small commission on qualifying purchases, but it doesn’t affect your cost in any way. If you do electronics, model building, or any kind of detailed assembly work, this is one of those tools that quickly becomes indispensable.
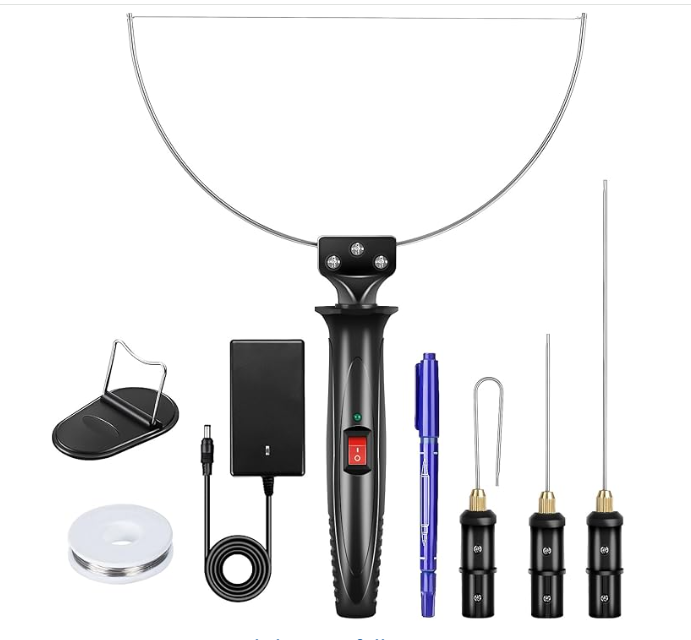
Hot Knife
I bought one of these hot knives about a year ago, and at this point I use it almost daily. Like most people, I seem to collect endless blocks of packing foam from shipments — the kind that fills your trash can before anything else has a chance to go in it. This tool turned all of that “junk” into free building material. I’ve used it to build rocks, buildings, terrain, and even an entire mountain range on my layout. The foam costs nothing, it’s easy to shape, and once you get the hang of the hot knife, it actually looks far better on a train layout than it ever did heading to a landfill. When you click the link, it takes you directly to eBay, where you’ll pay the regular price. I do earn a small commission on qualifying purchases, but it doesn’t affect your cost in any way. There’s a bit of a learning curve at first, but it doesn’t take long. Once you get comfortable controlling the cut, you can carve surprisingly realistic shapes quickly and cleanly. It also works on plastic, but where it really shines is on styrofoam and other foams. One important note: use it in a well-ventilated area. Melting foam isn’t something you want to breathe, and a little fresh air goes a long way. If you do scenery, terrain, or scratch building, this is one of those tools that pays for itself fast — especially when the raw material keeps showing up for free.
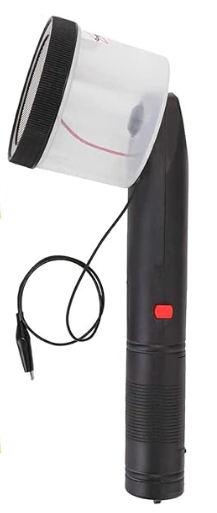
Static Grass Applicator
About six months ago I discovered static grass, and it completely changed the look of my scenery. Instead of using pre-made grass mats that you cut up and glue to the table, this approach is much more realistic. You paint the surface the base color of the grass, brush on wet glue, then use the static grass applicator to apply the fibers. As they fall, the grass stands upright, and the result looks like real grass instead of something flat and artificial. The difference is night and day. When you click the link, it takes you directly to Amazon, where you’ll pay the regular price. I do earn a small commission on qualifying purchases, but it doesn’t affect your cost in any way. I use static grass in a wide range of lengths, colors, and blends, depending on the area I’m working on. There are applicators out there that cost a lot more, but for my use, this one has worked just fine and feels well-suited to hands-on layout work. One important caution: don’t touch the grounded surface on the applicator head while it’s on. Even though it runs on batteries, it will give you a pretty good jolt if you happen to touch it while it’s energized. Nothing dangerous, but definitely memorable. This has become one of those fine-detail tools I reach for regularly. If you’re doing scenery and want grass that actually looks like grass, this is a very effective way to get there without spending a fortune.
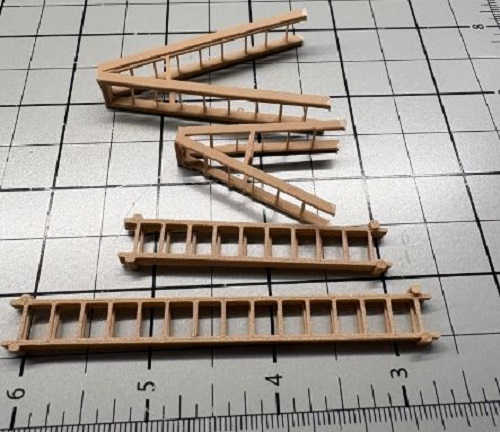
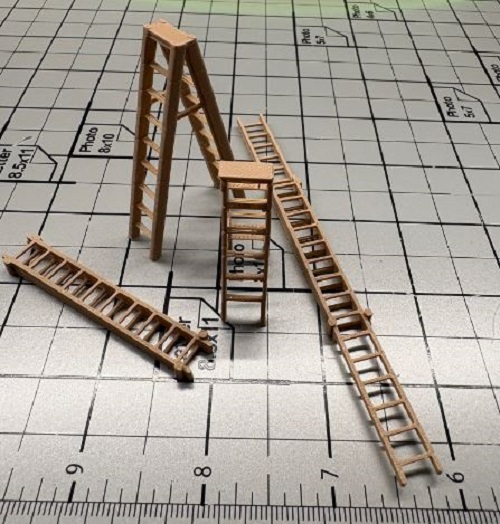

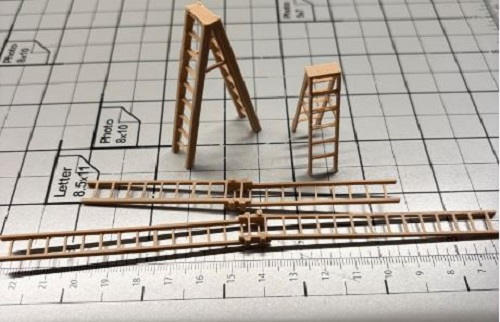
O-Gauge 4 Wooden Ladders by Cinder Shops
Before the days of bright yellow fiberglass and enough warning labels to wrap around a telephone pole, ladders were simple, sturdy, and made of wood. If you needed to reach a gutter or change a lightbulb at the station, you grabbed a ladder and you just... used it. There were no 28-point safety manuals or step-by-step directions stickered onto the side—back then, they just assumed you could figure it out on your own. These wooden ladders bring that classic, \"pre-liability\" realism to your layout. Whether they are leaned up against the back of the service bay or strapped to the roof of a maintenance truck, they look exactly how a ladder should look for the 1950s and \'60s. Authentic O-Gauge Detail I’ve designed this set to cover all the bases for your shop or home-scene maintenance. They are printed in a wood-tone finish that captures the grain and texture of the real thing. You won\'t find a single warning label on these—just clean, era-appropriate geometry. Versatility for Your Scene This set gives you four distinct pieces to scatter across your layout. Use the step ladders for interior shop work and the extension ladders for those high-reach jobs on your O-Gauge buildings. Key Features: Mid-Century Realism: Modeled after the classic wooden construction common in every garage and utility truck of the era. O-Gauge Precision: Scaled 1:48 to perfectly fit your Lionel, MTH, or Atlas figures and structures. No-Nonsense Design: Clean, label-free surfaces for a true vintage look. Ready for the Job: Features realistic rungs and the iconic H-frame support on the step ladders. Included in this Kit: Two (2) 3D-Printed Extension Ladders (Two-part sliding style) Two (2) 3D-Printed Step Ladders (One large, one small) (Note: These are a perfect detail addition to lean against our Gas Station Canopy or to store next to the Blue Lube Rack!) ⚠️ CALIFORNIA PROPOSITION 65 WARNING: This product can expose you to chemicals including Carbon Black, which is known to the State of California to cause cancer. For more information, go to www.P65Warnings.ca.gov. Shipping Note: Remember, if your total order is over $50, shipping is FREE!
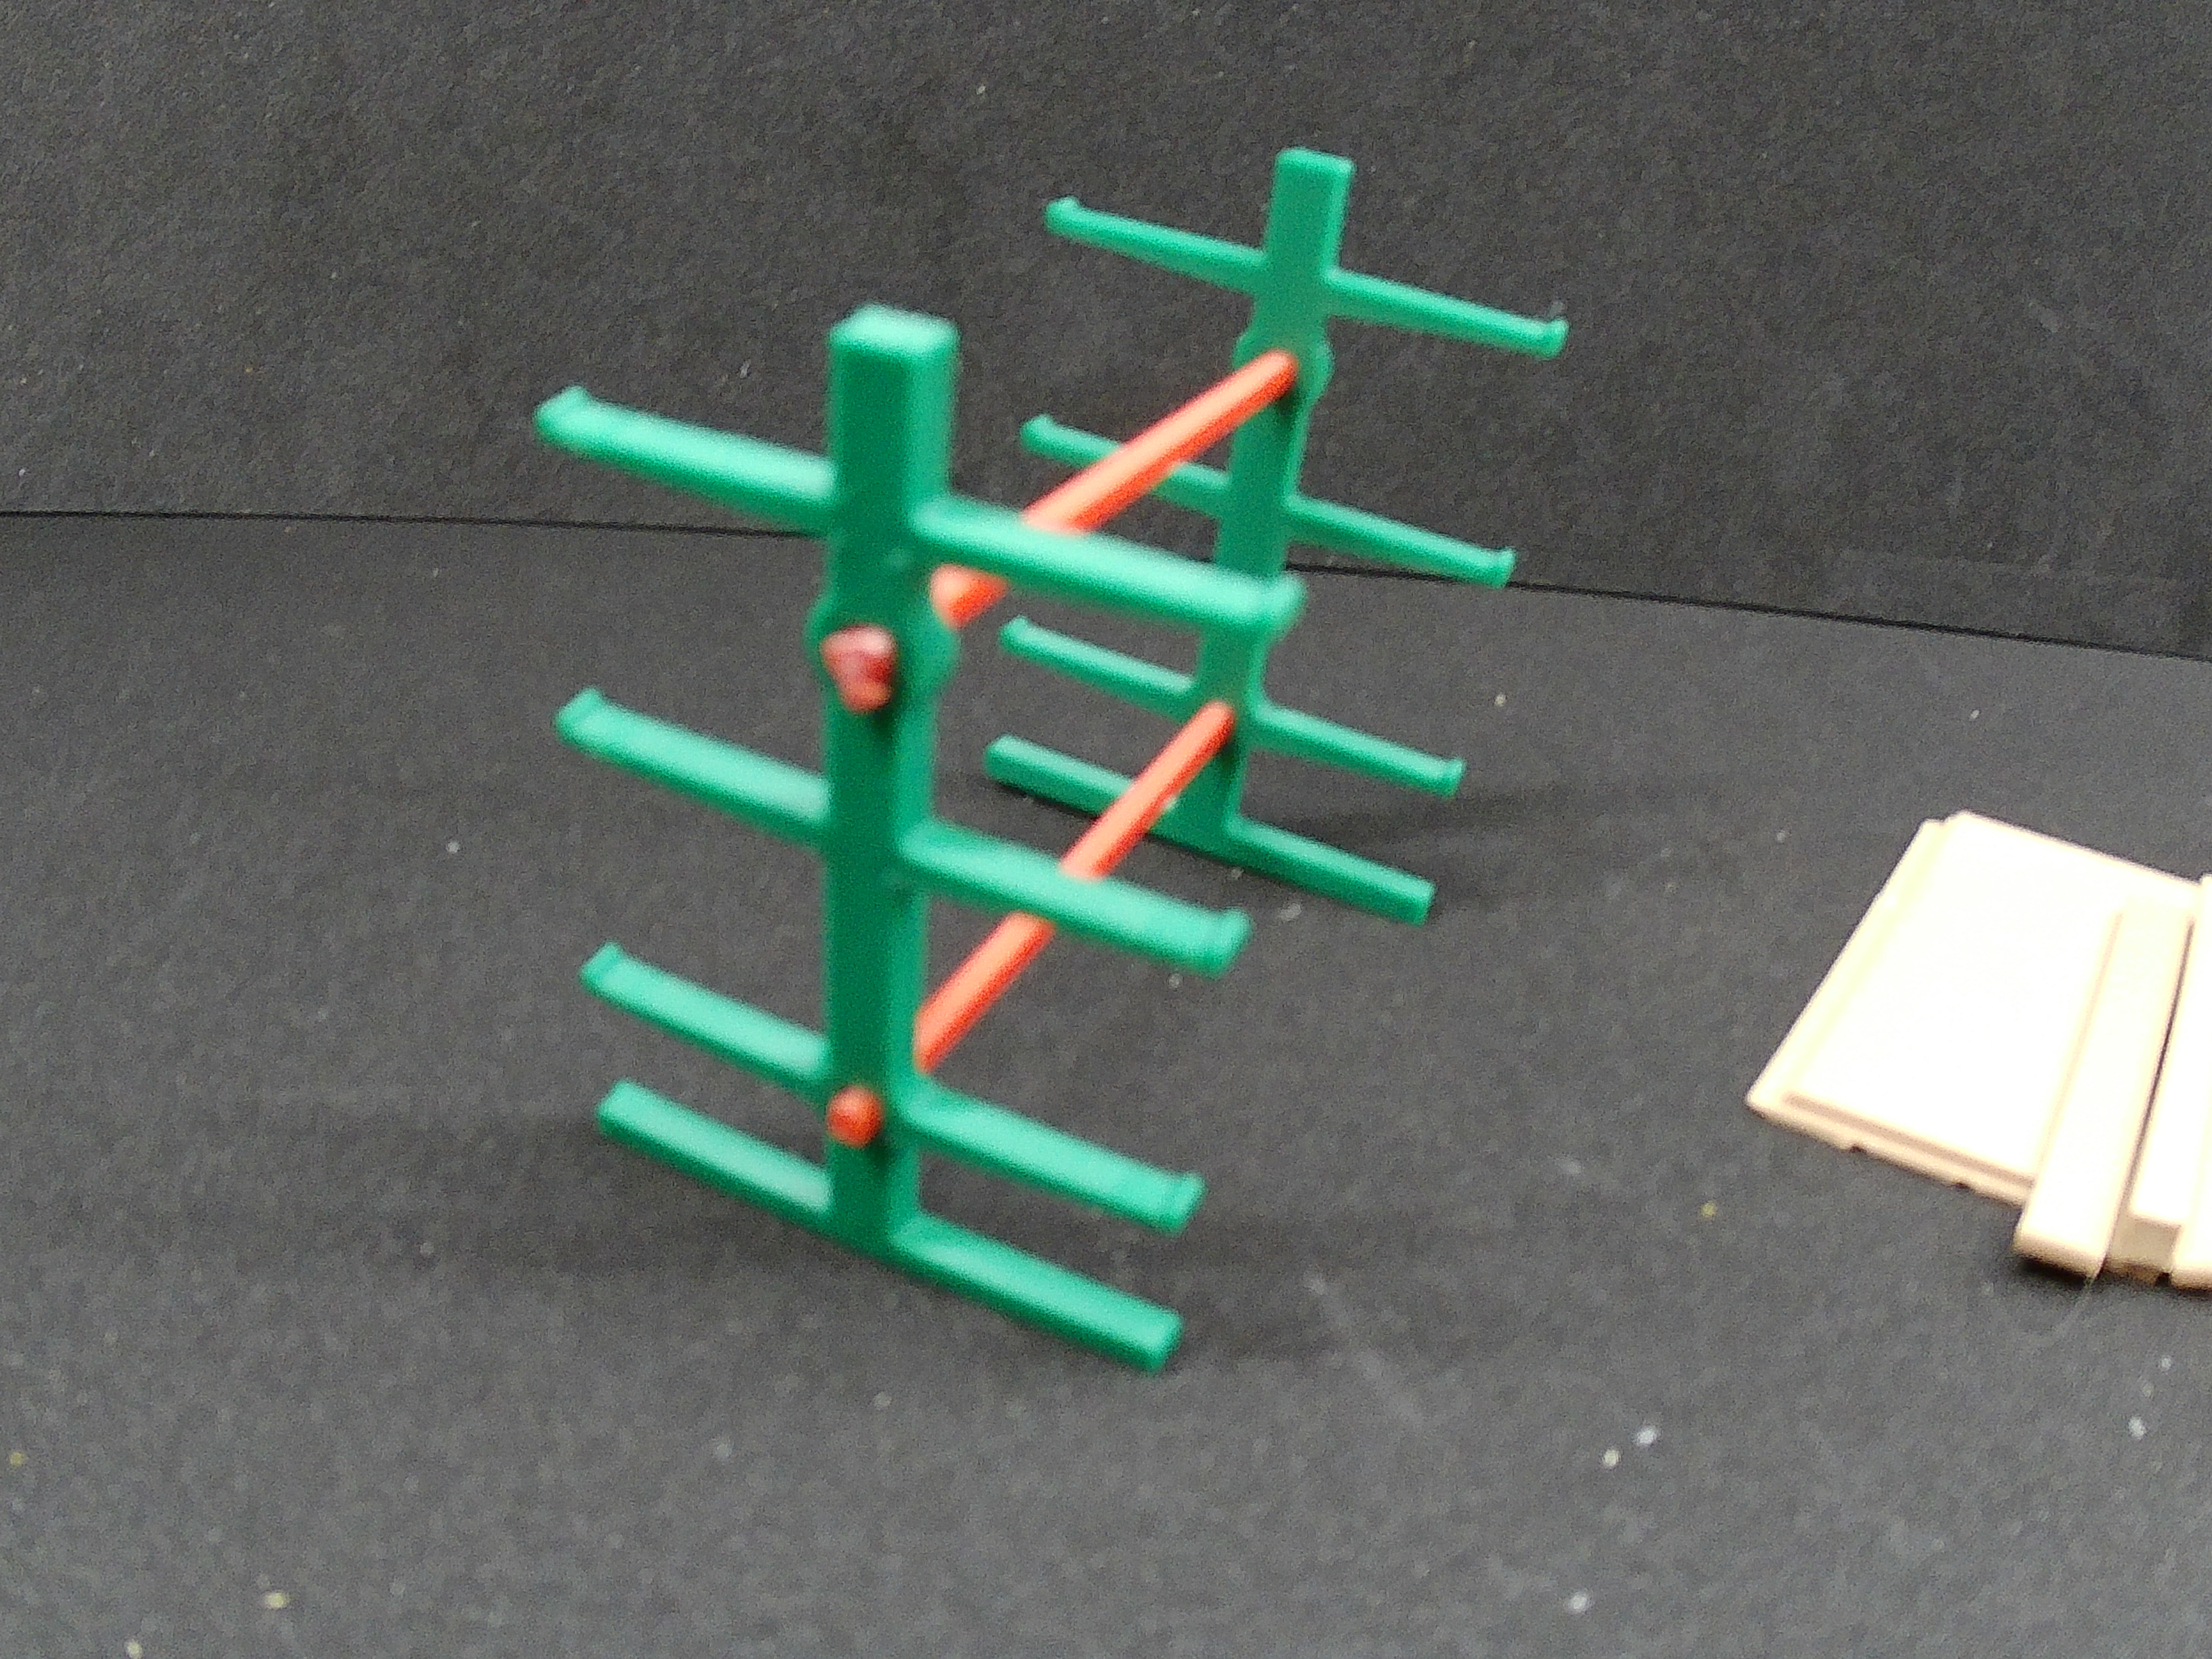
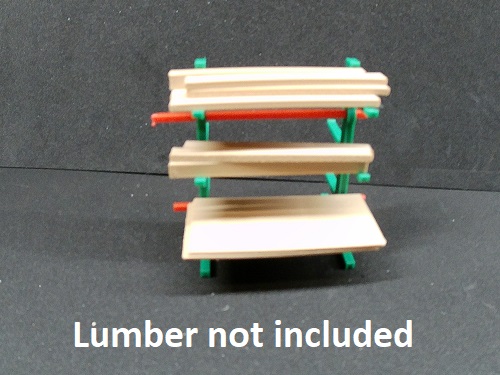


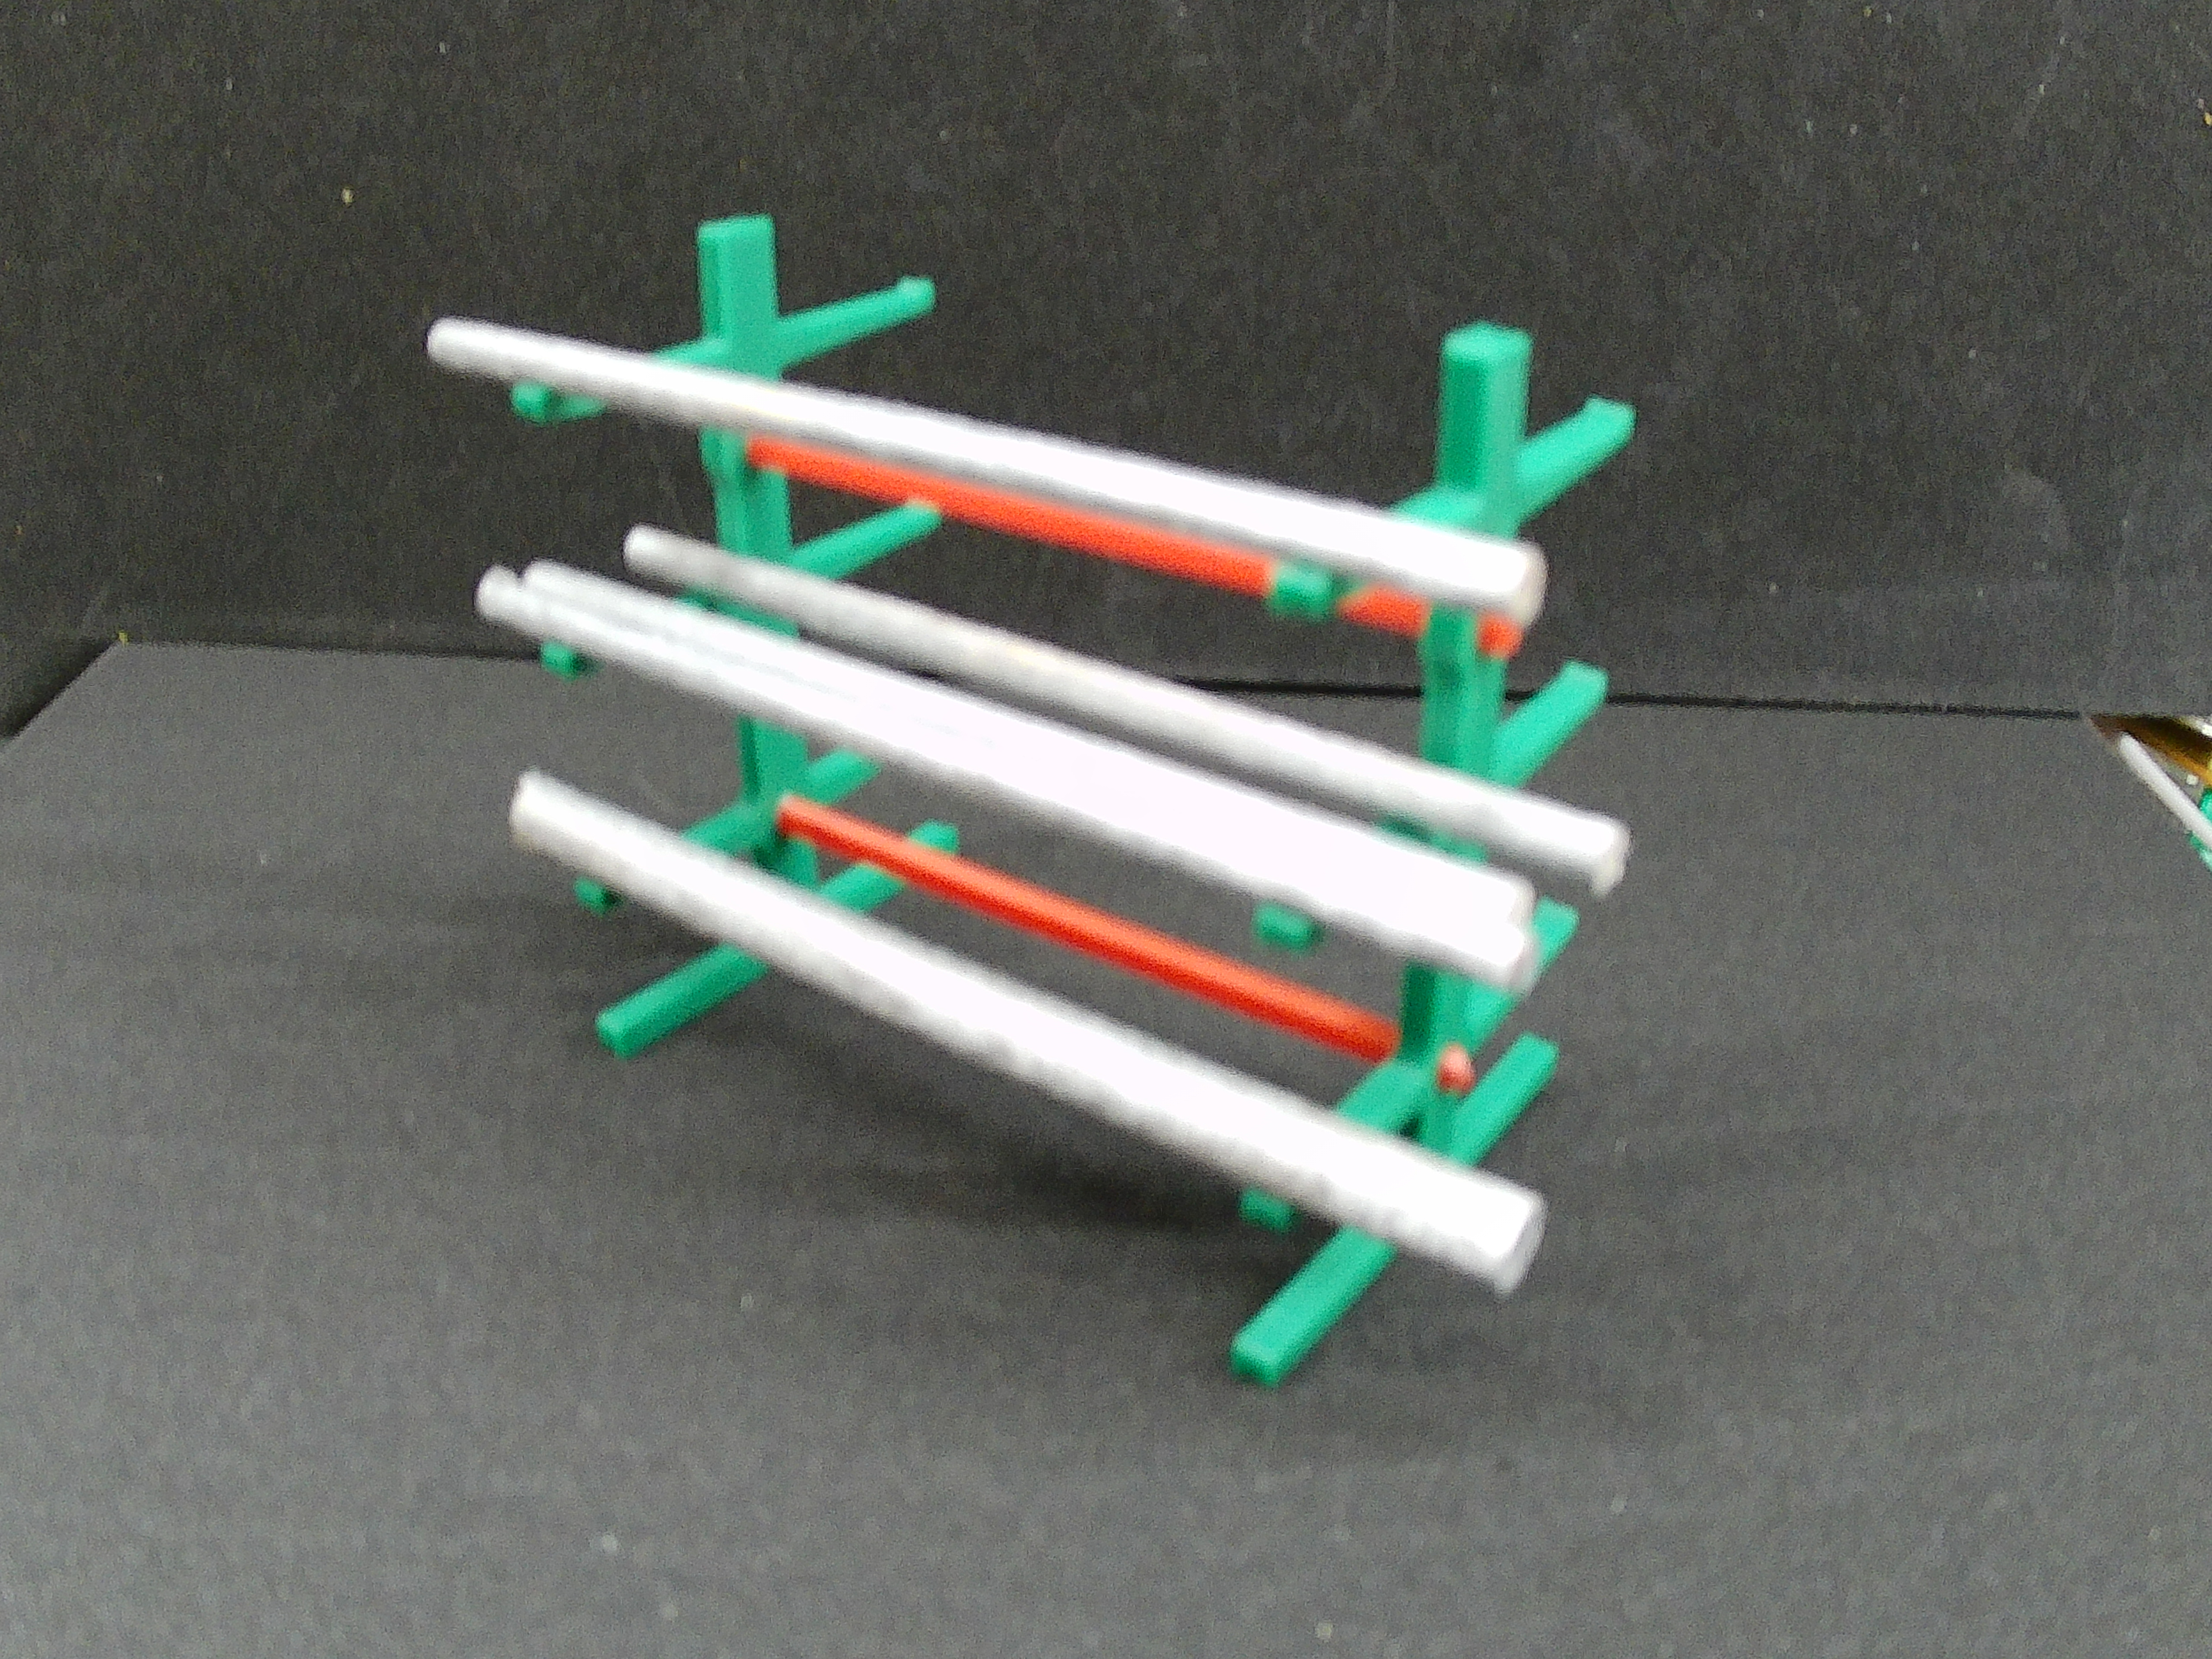
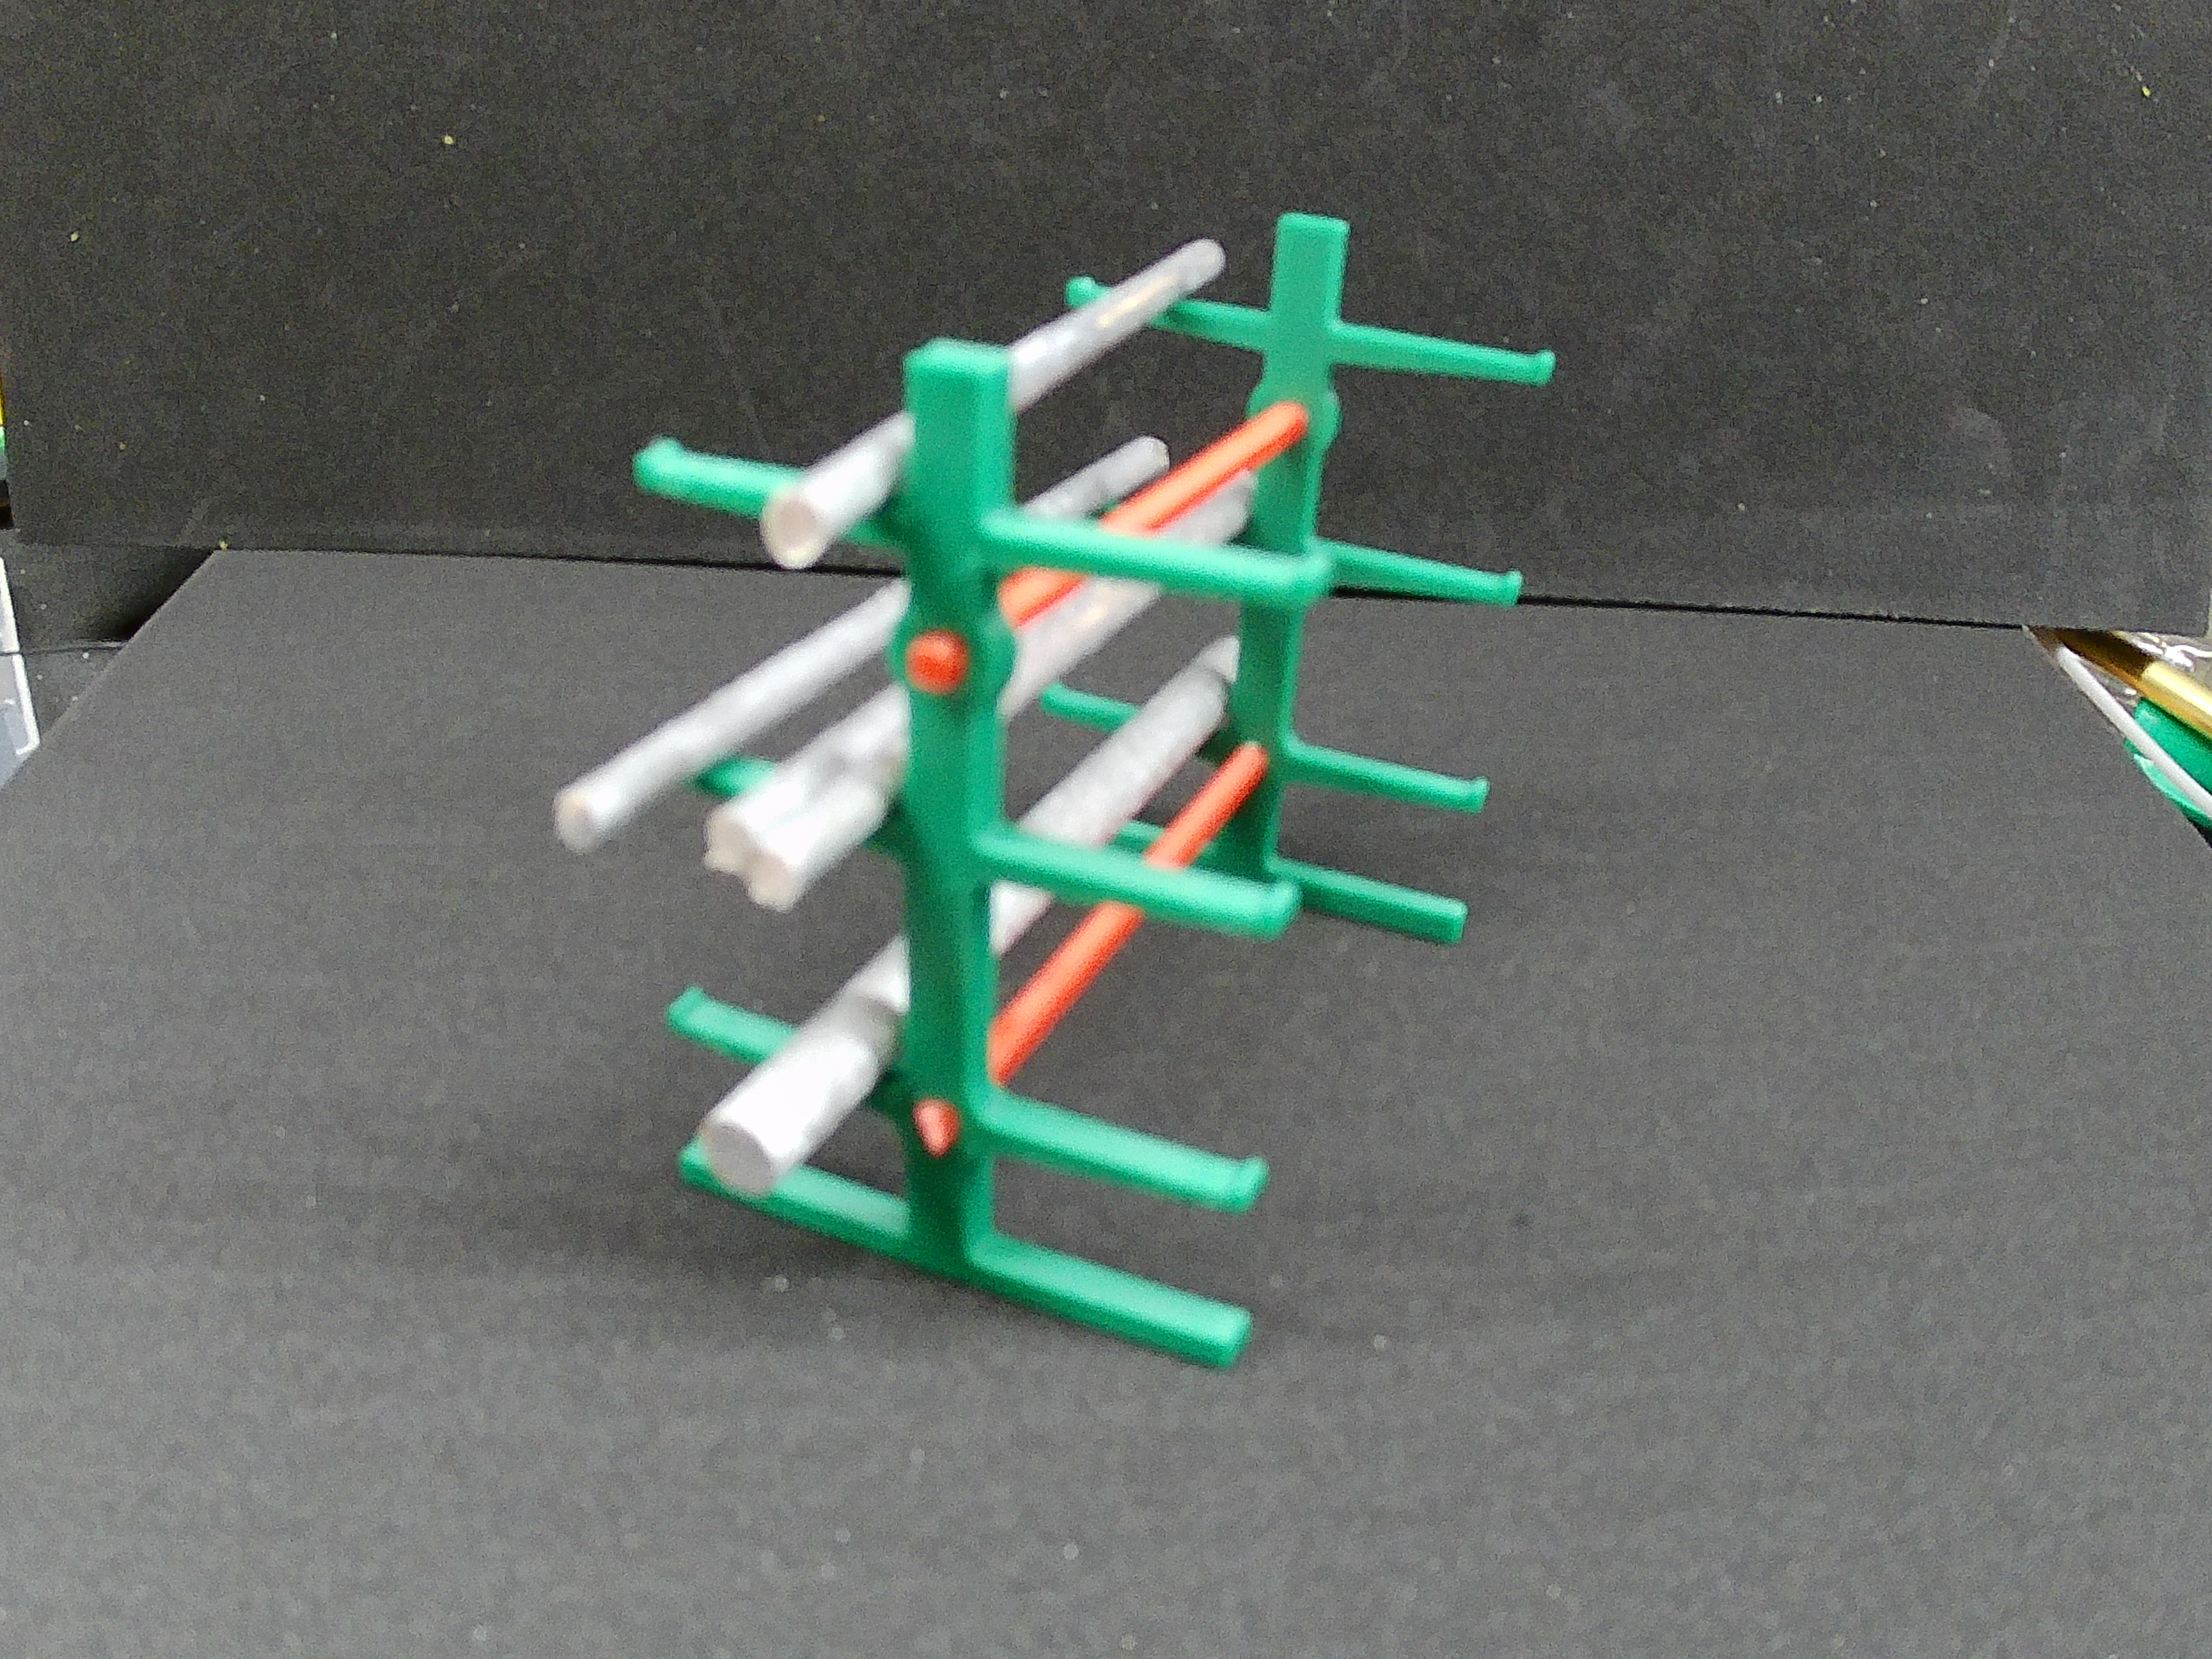
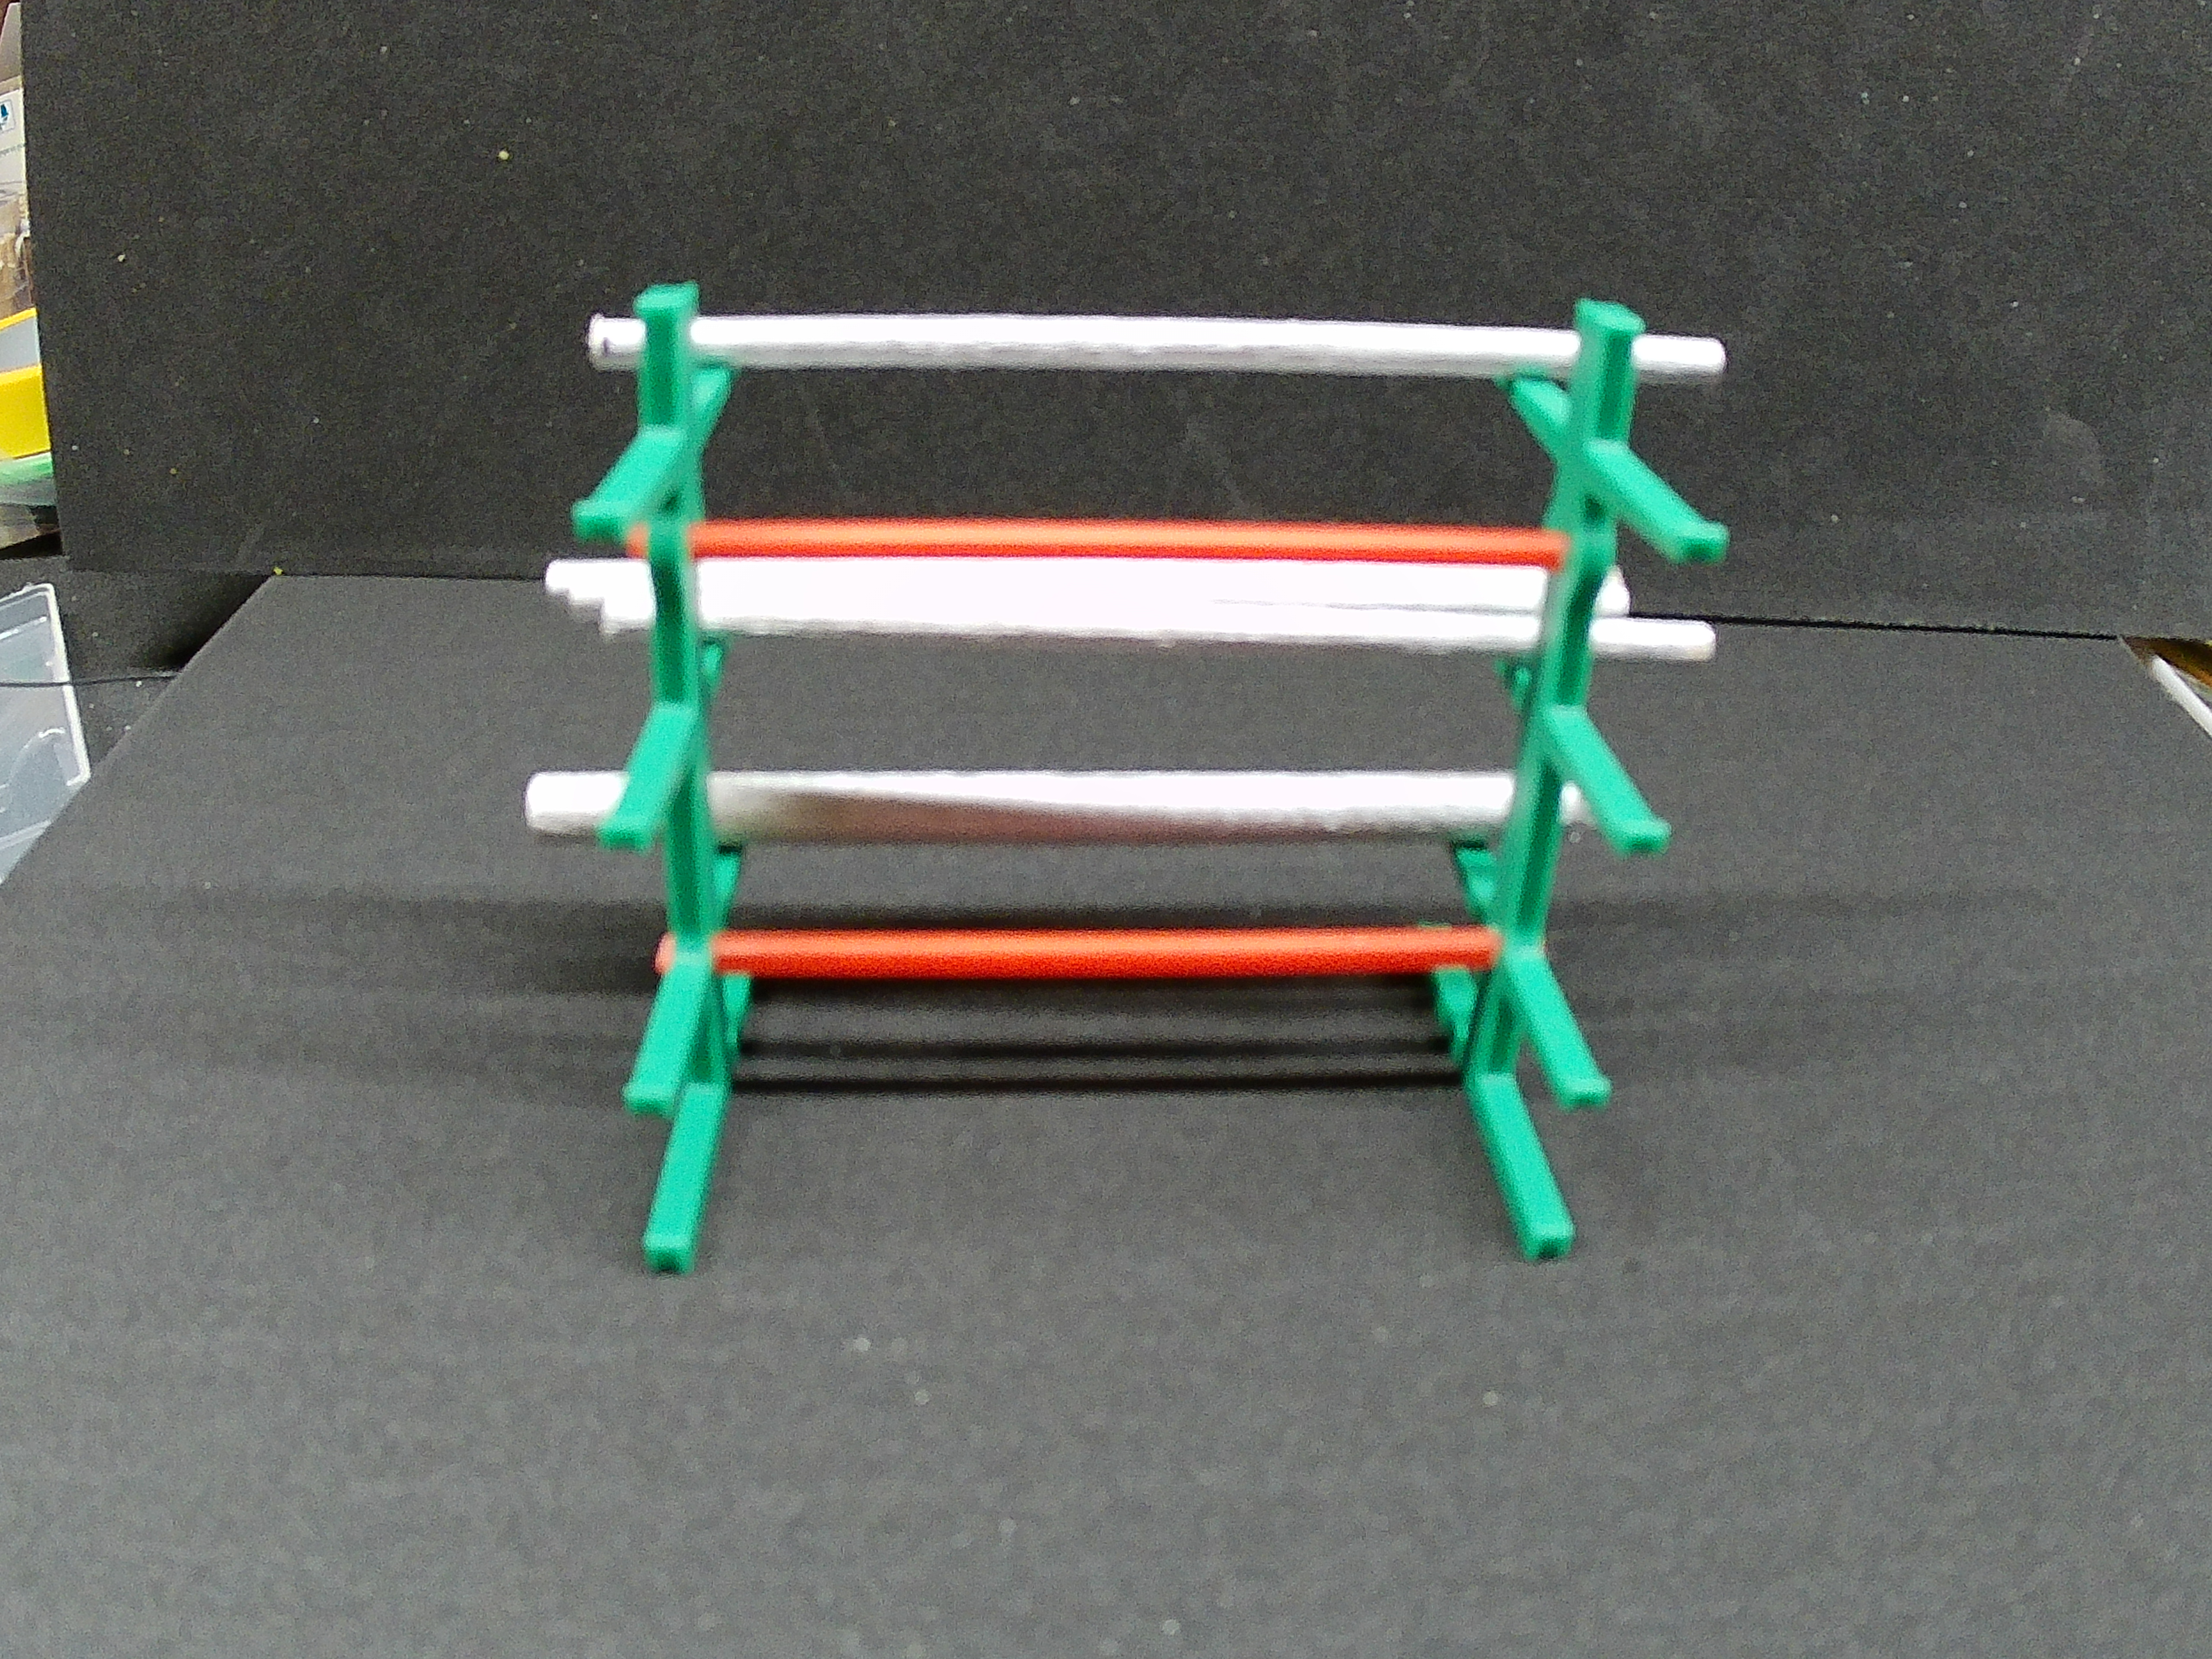
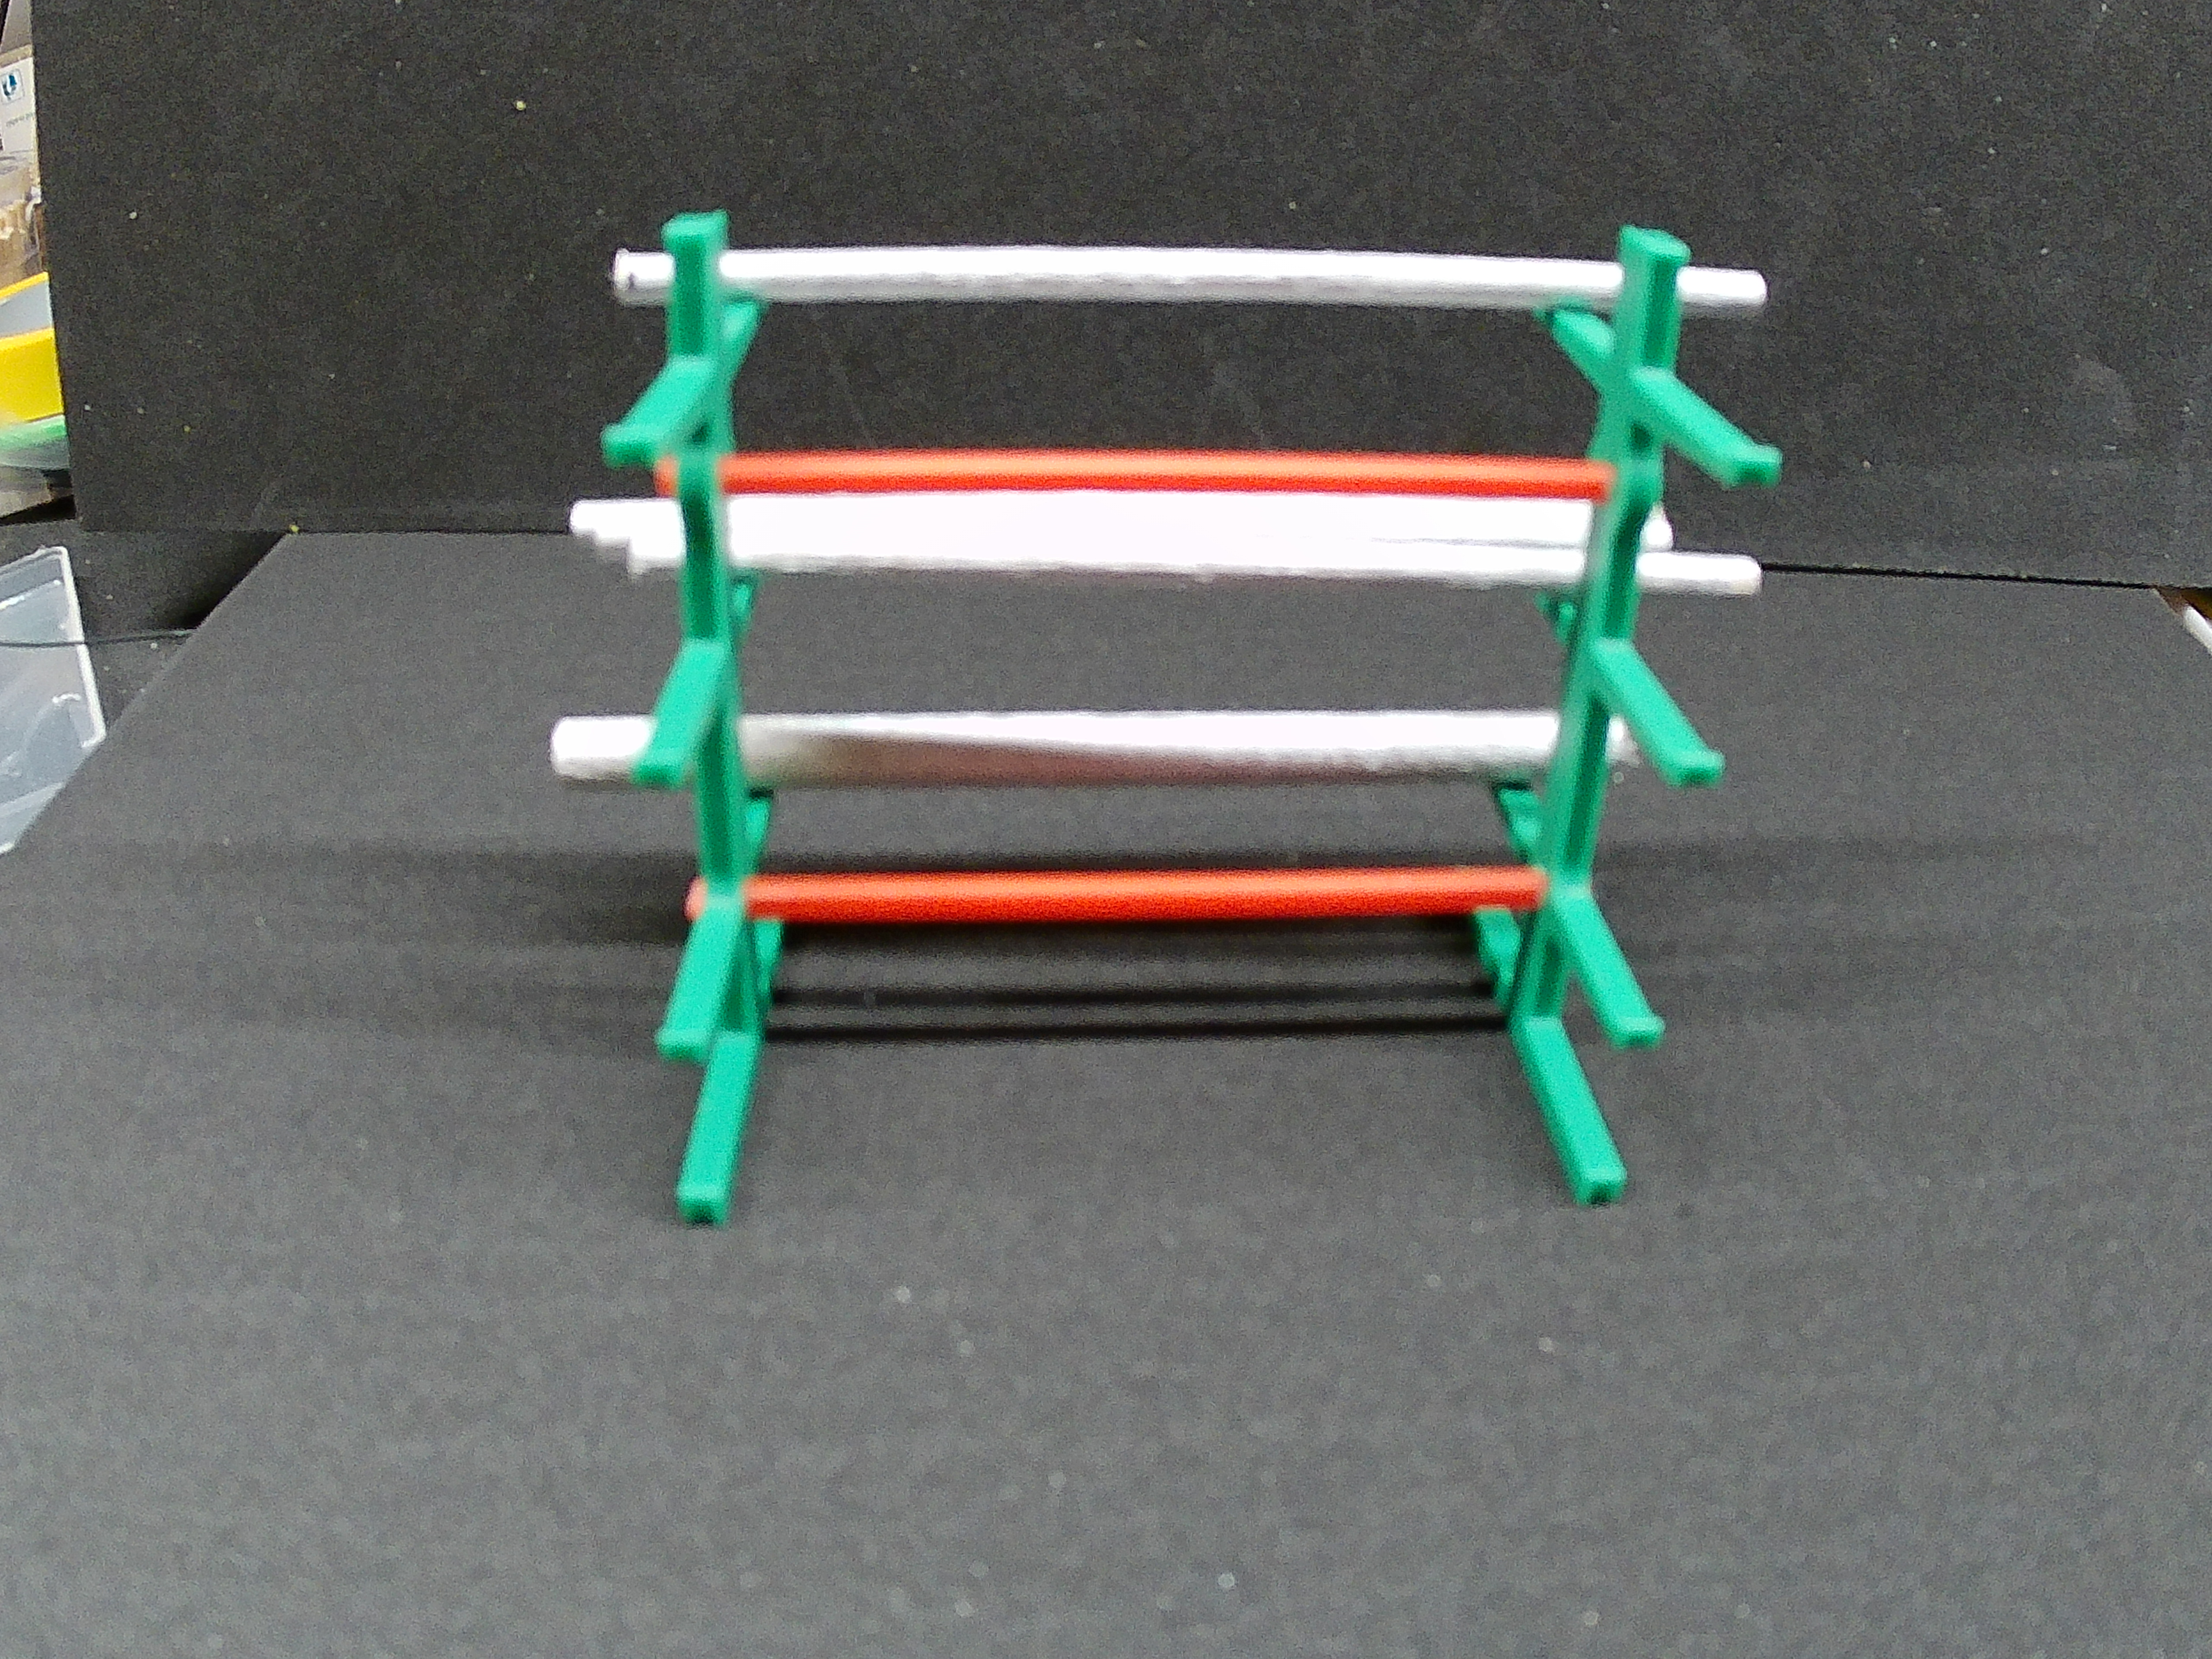
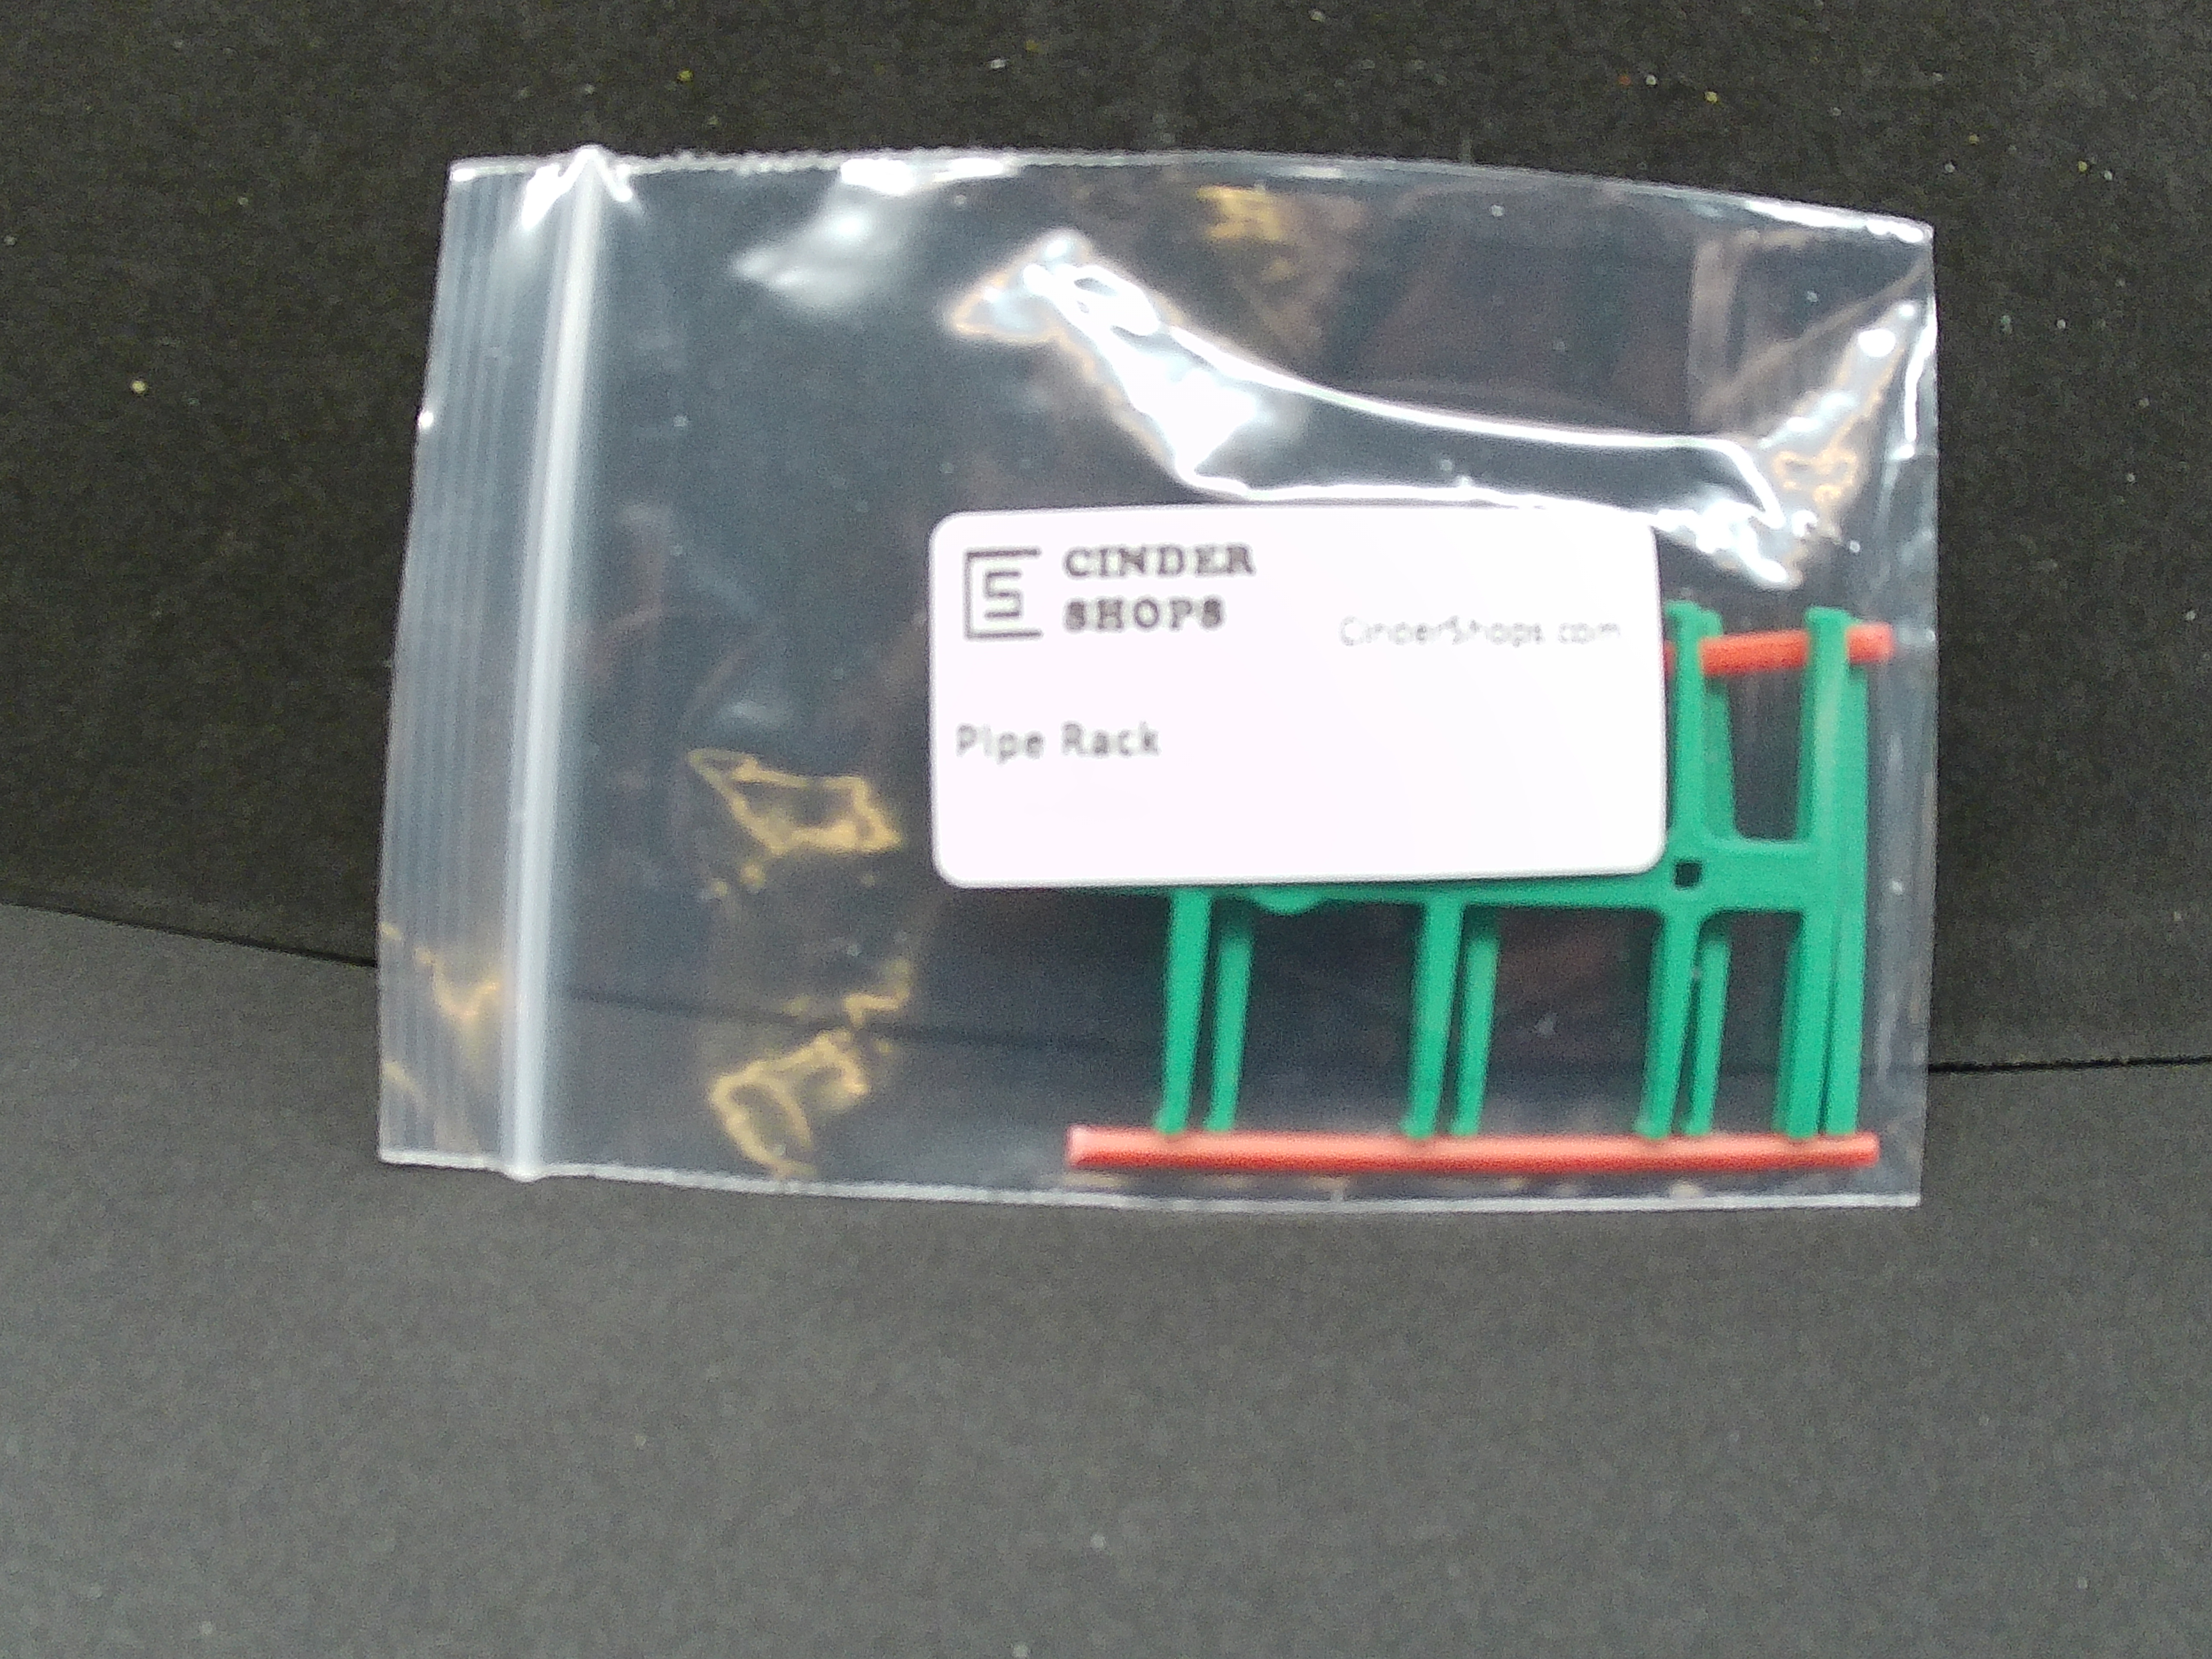
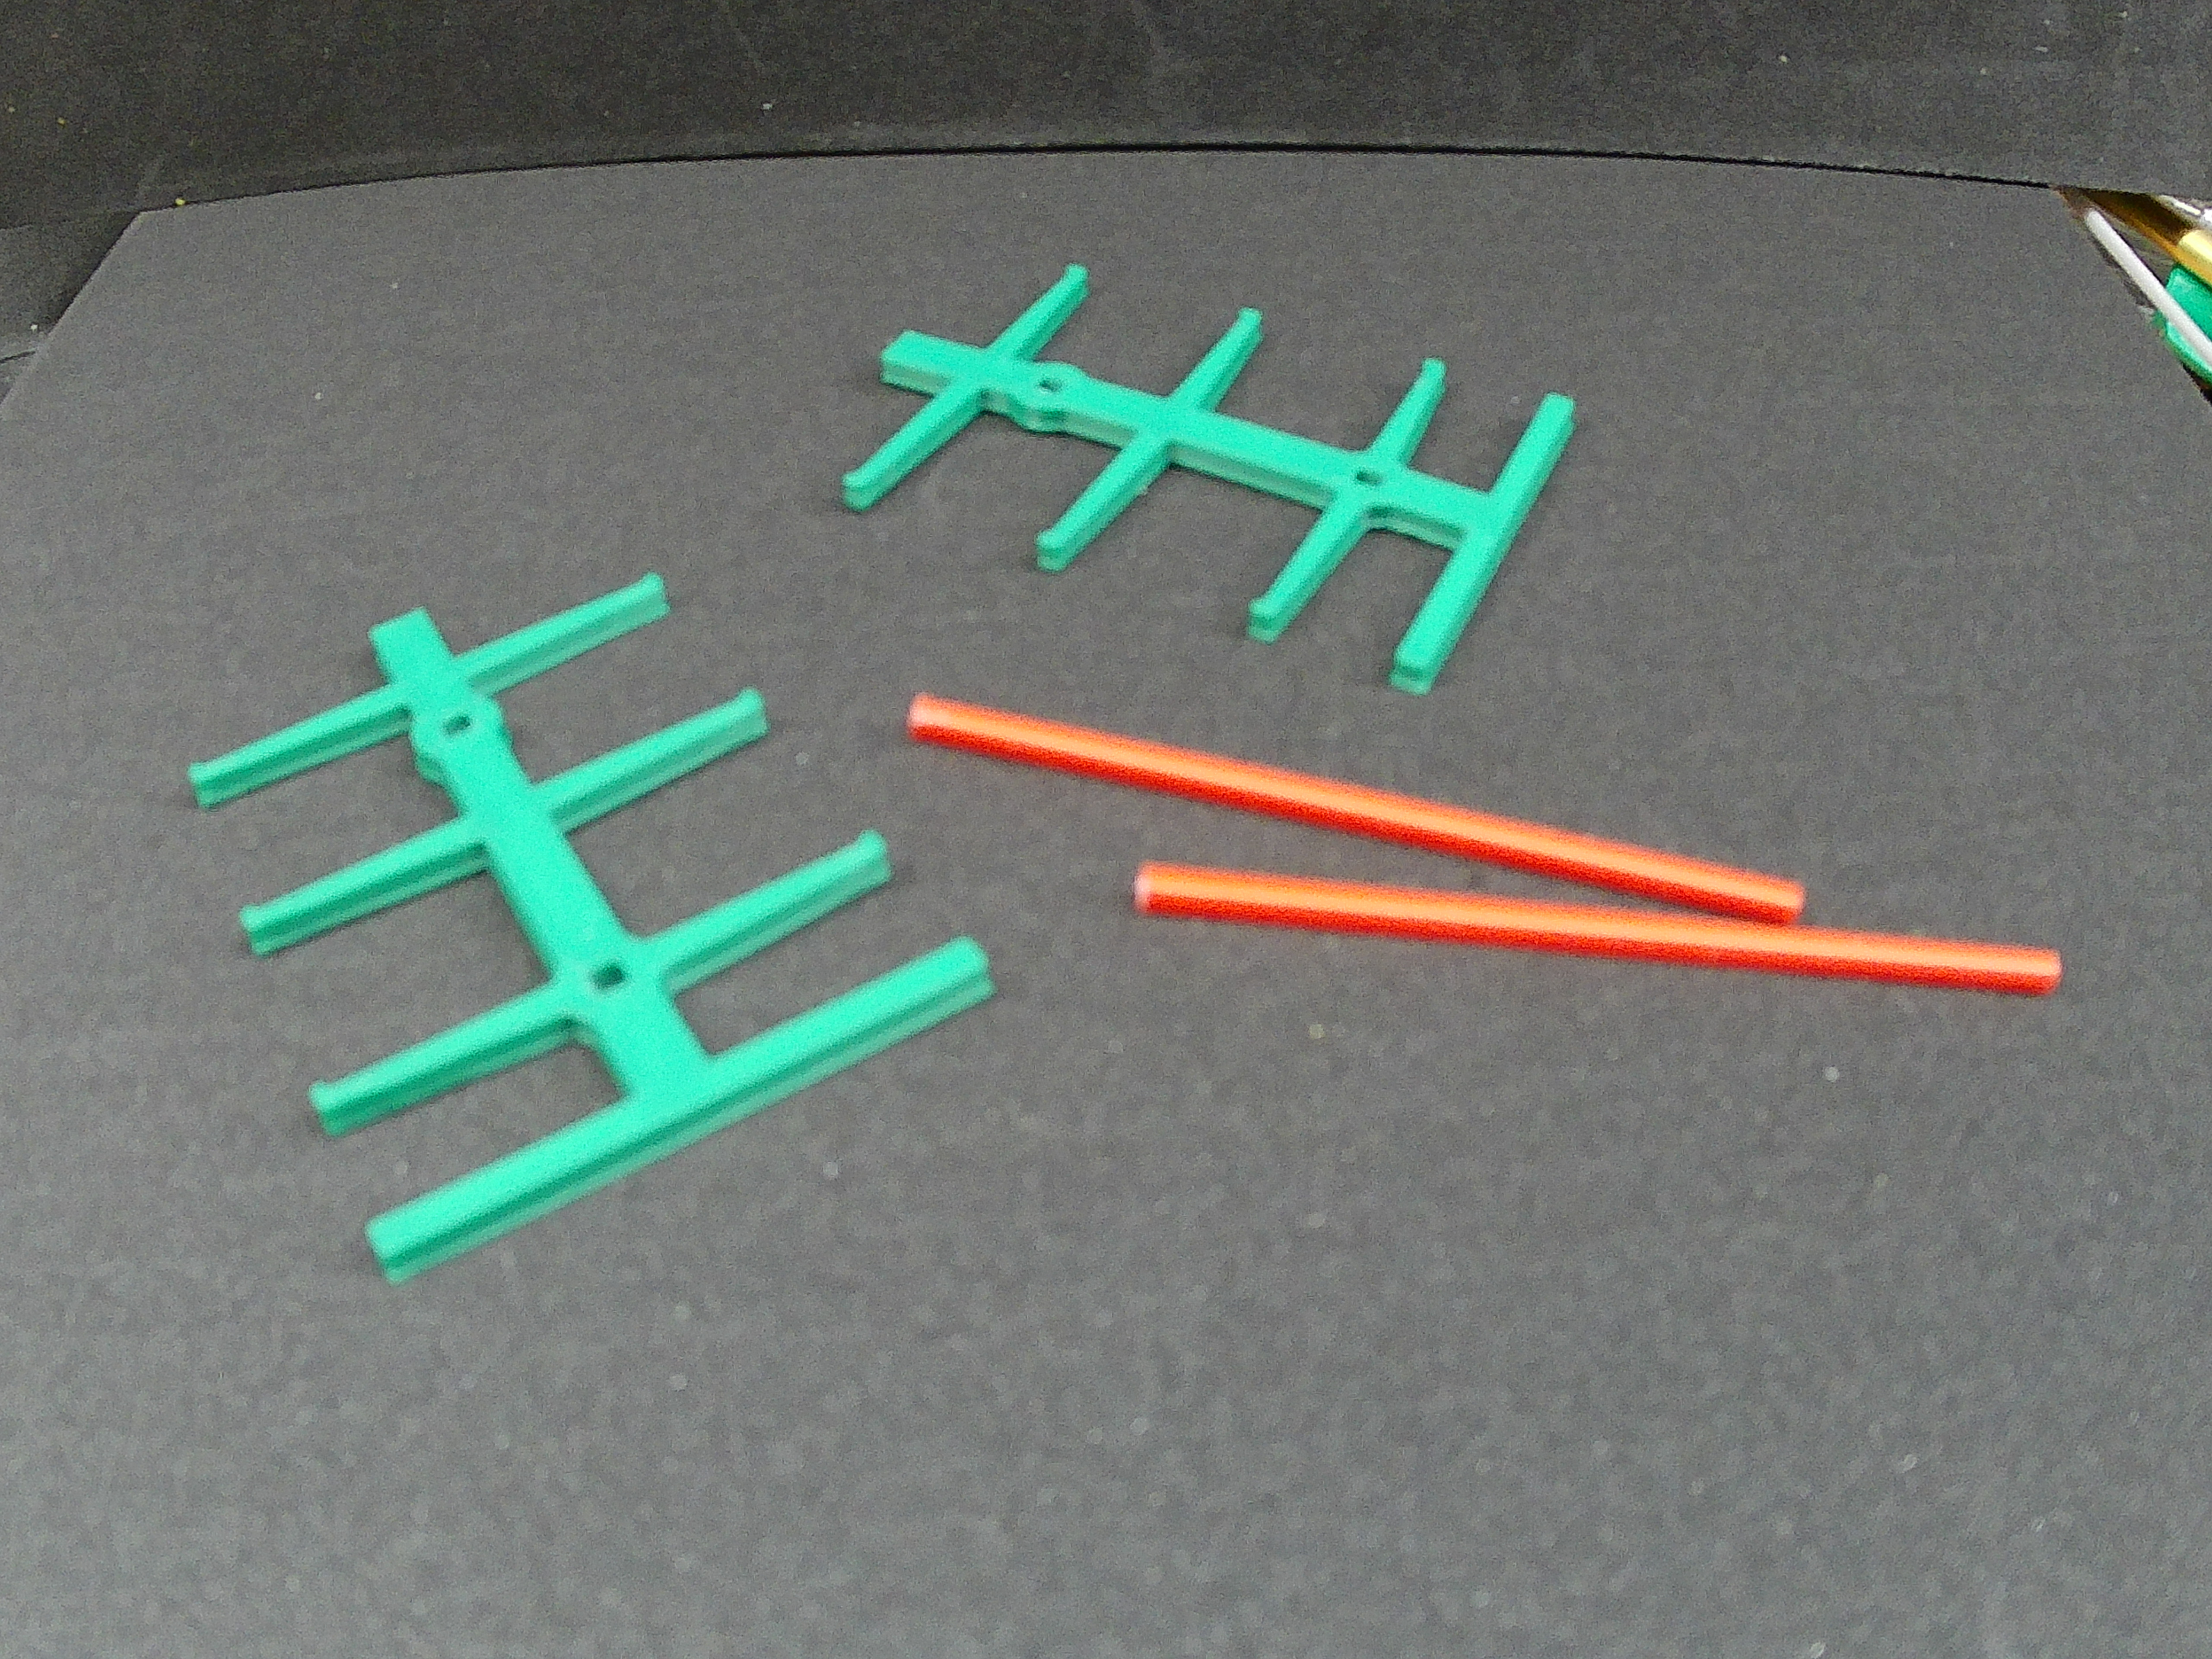
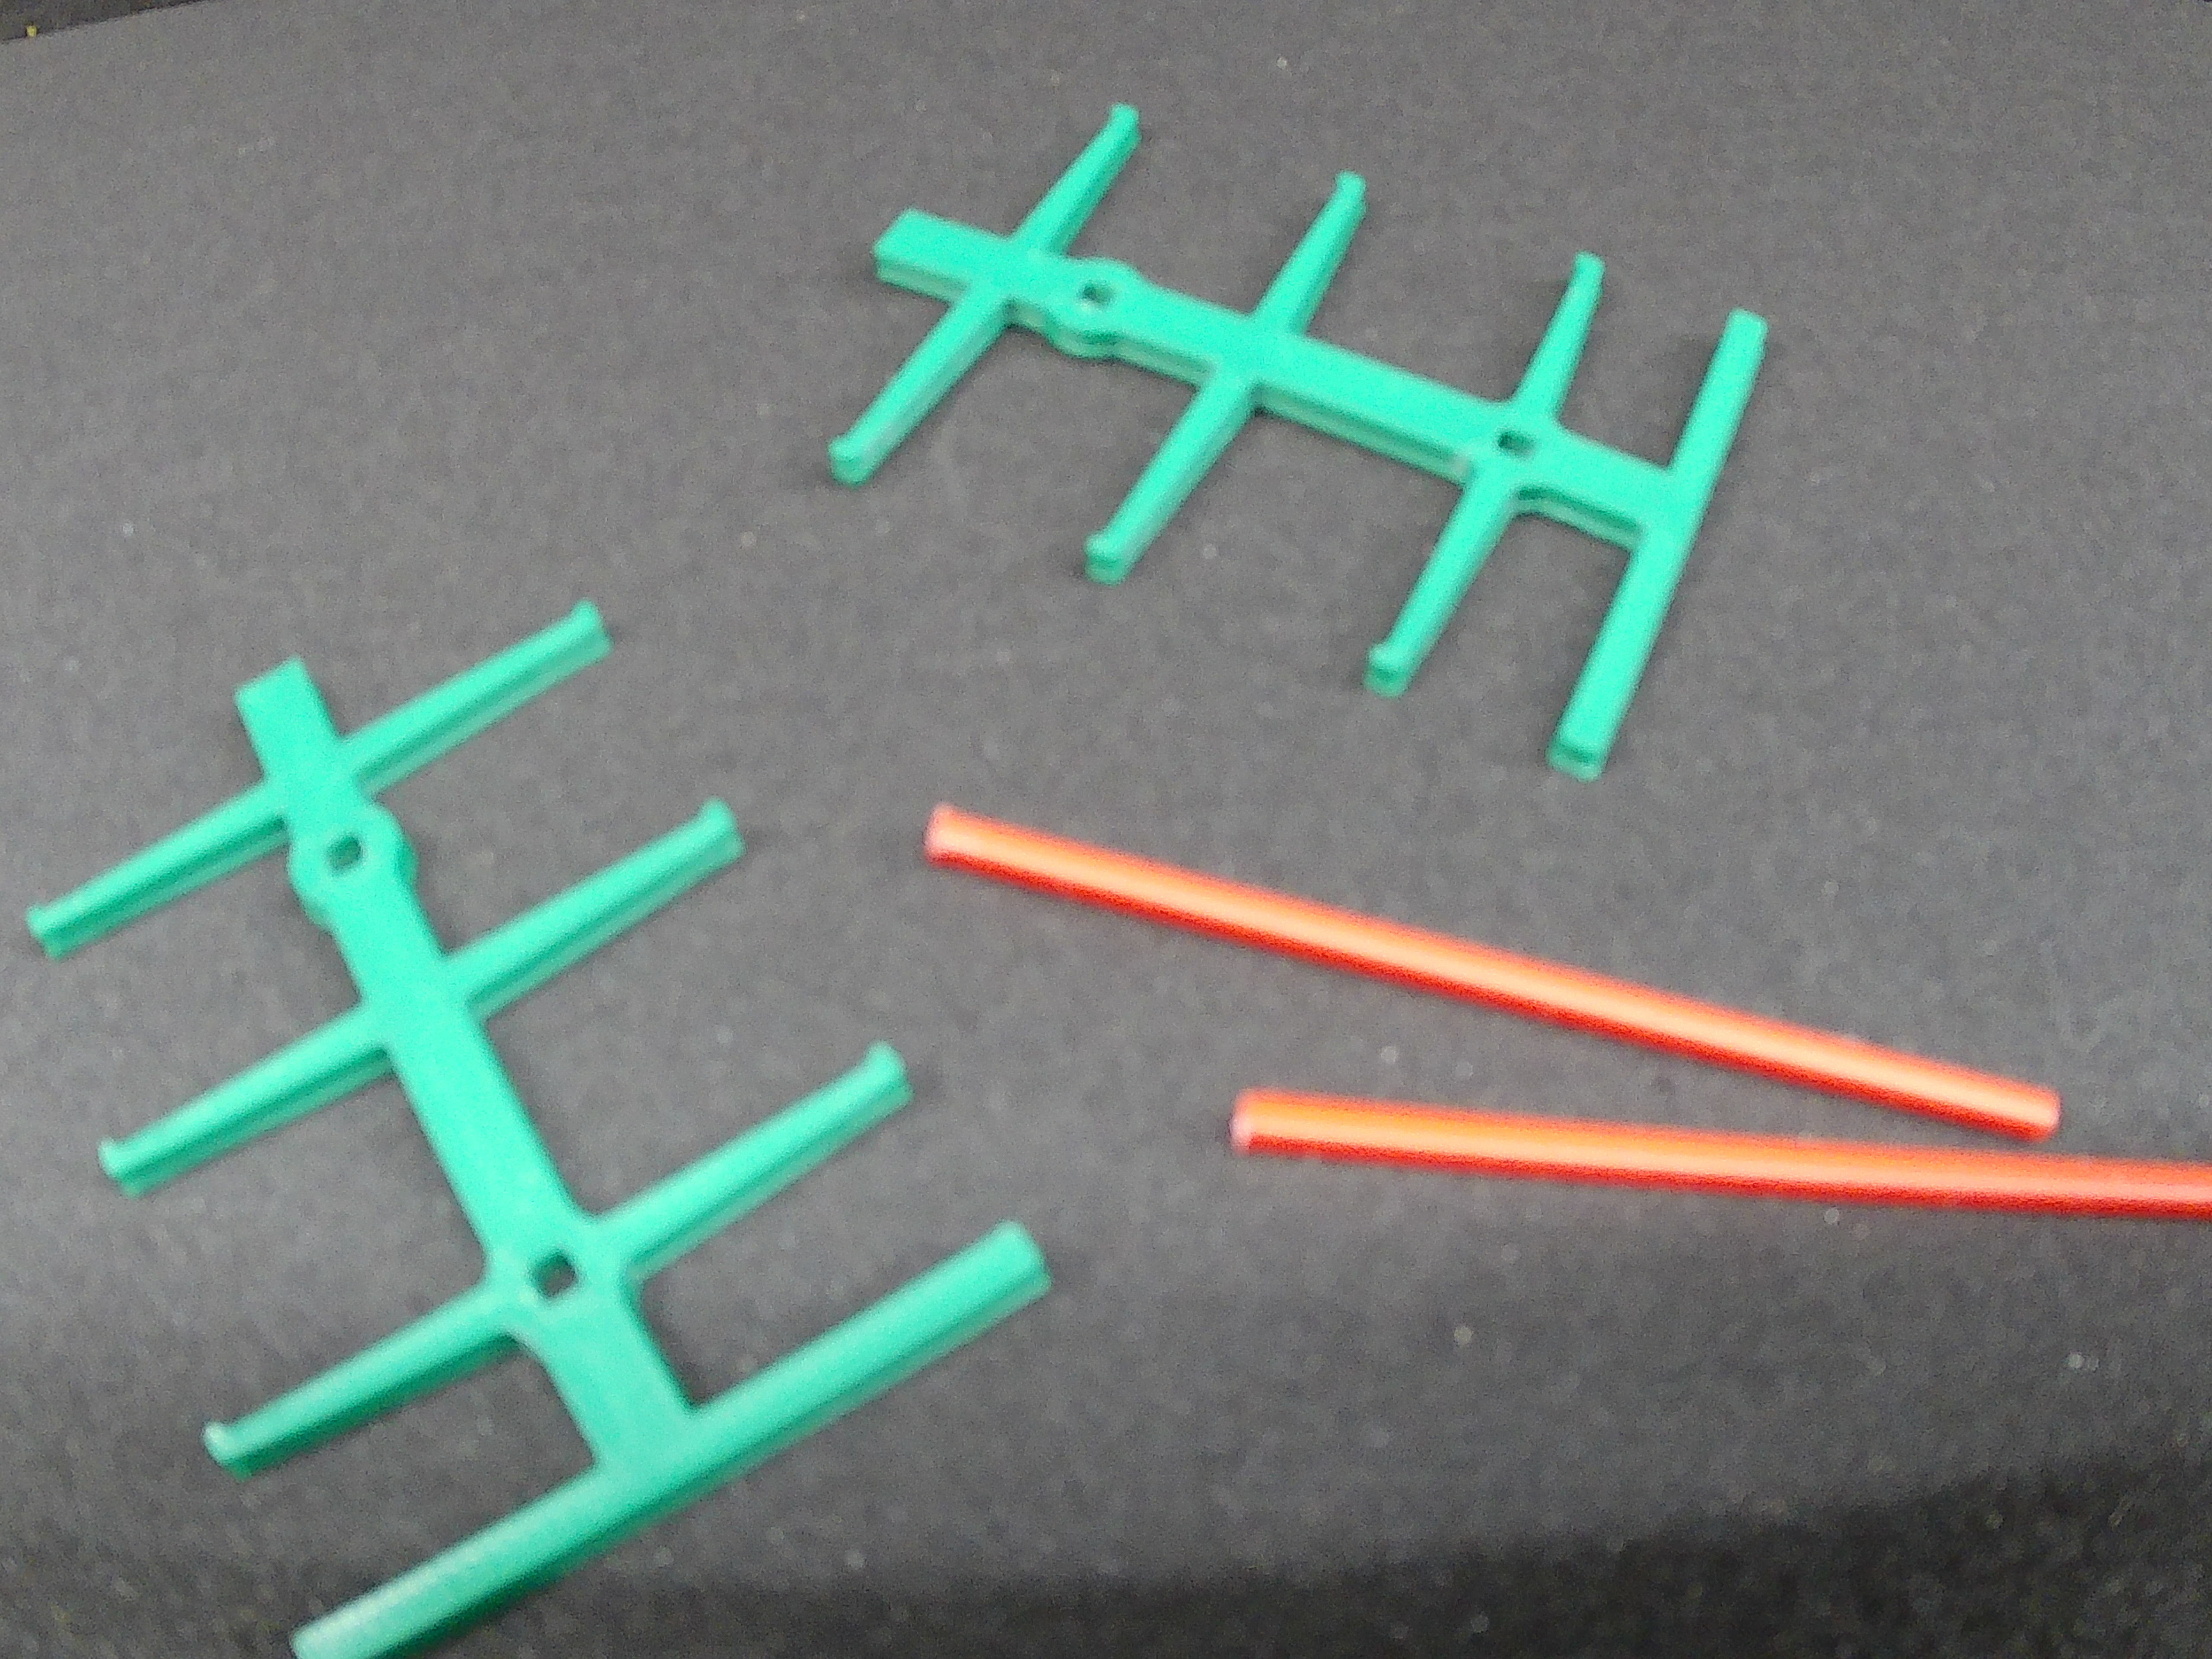
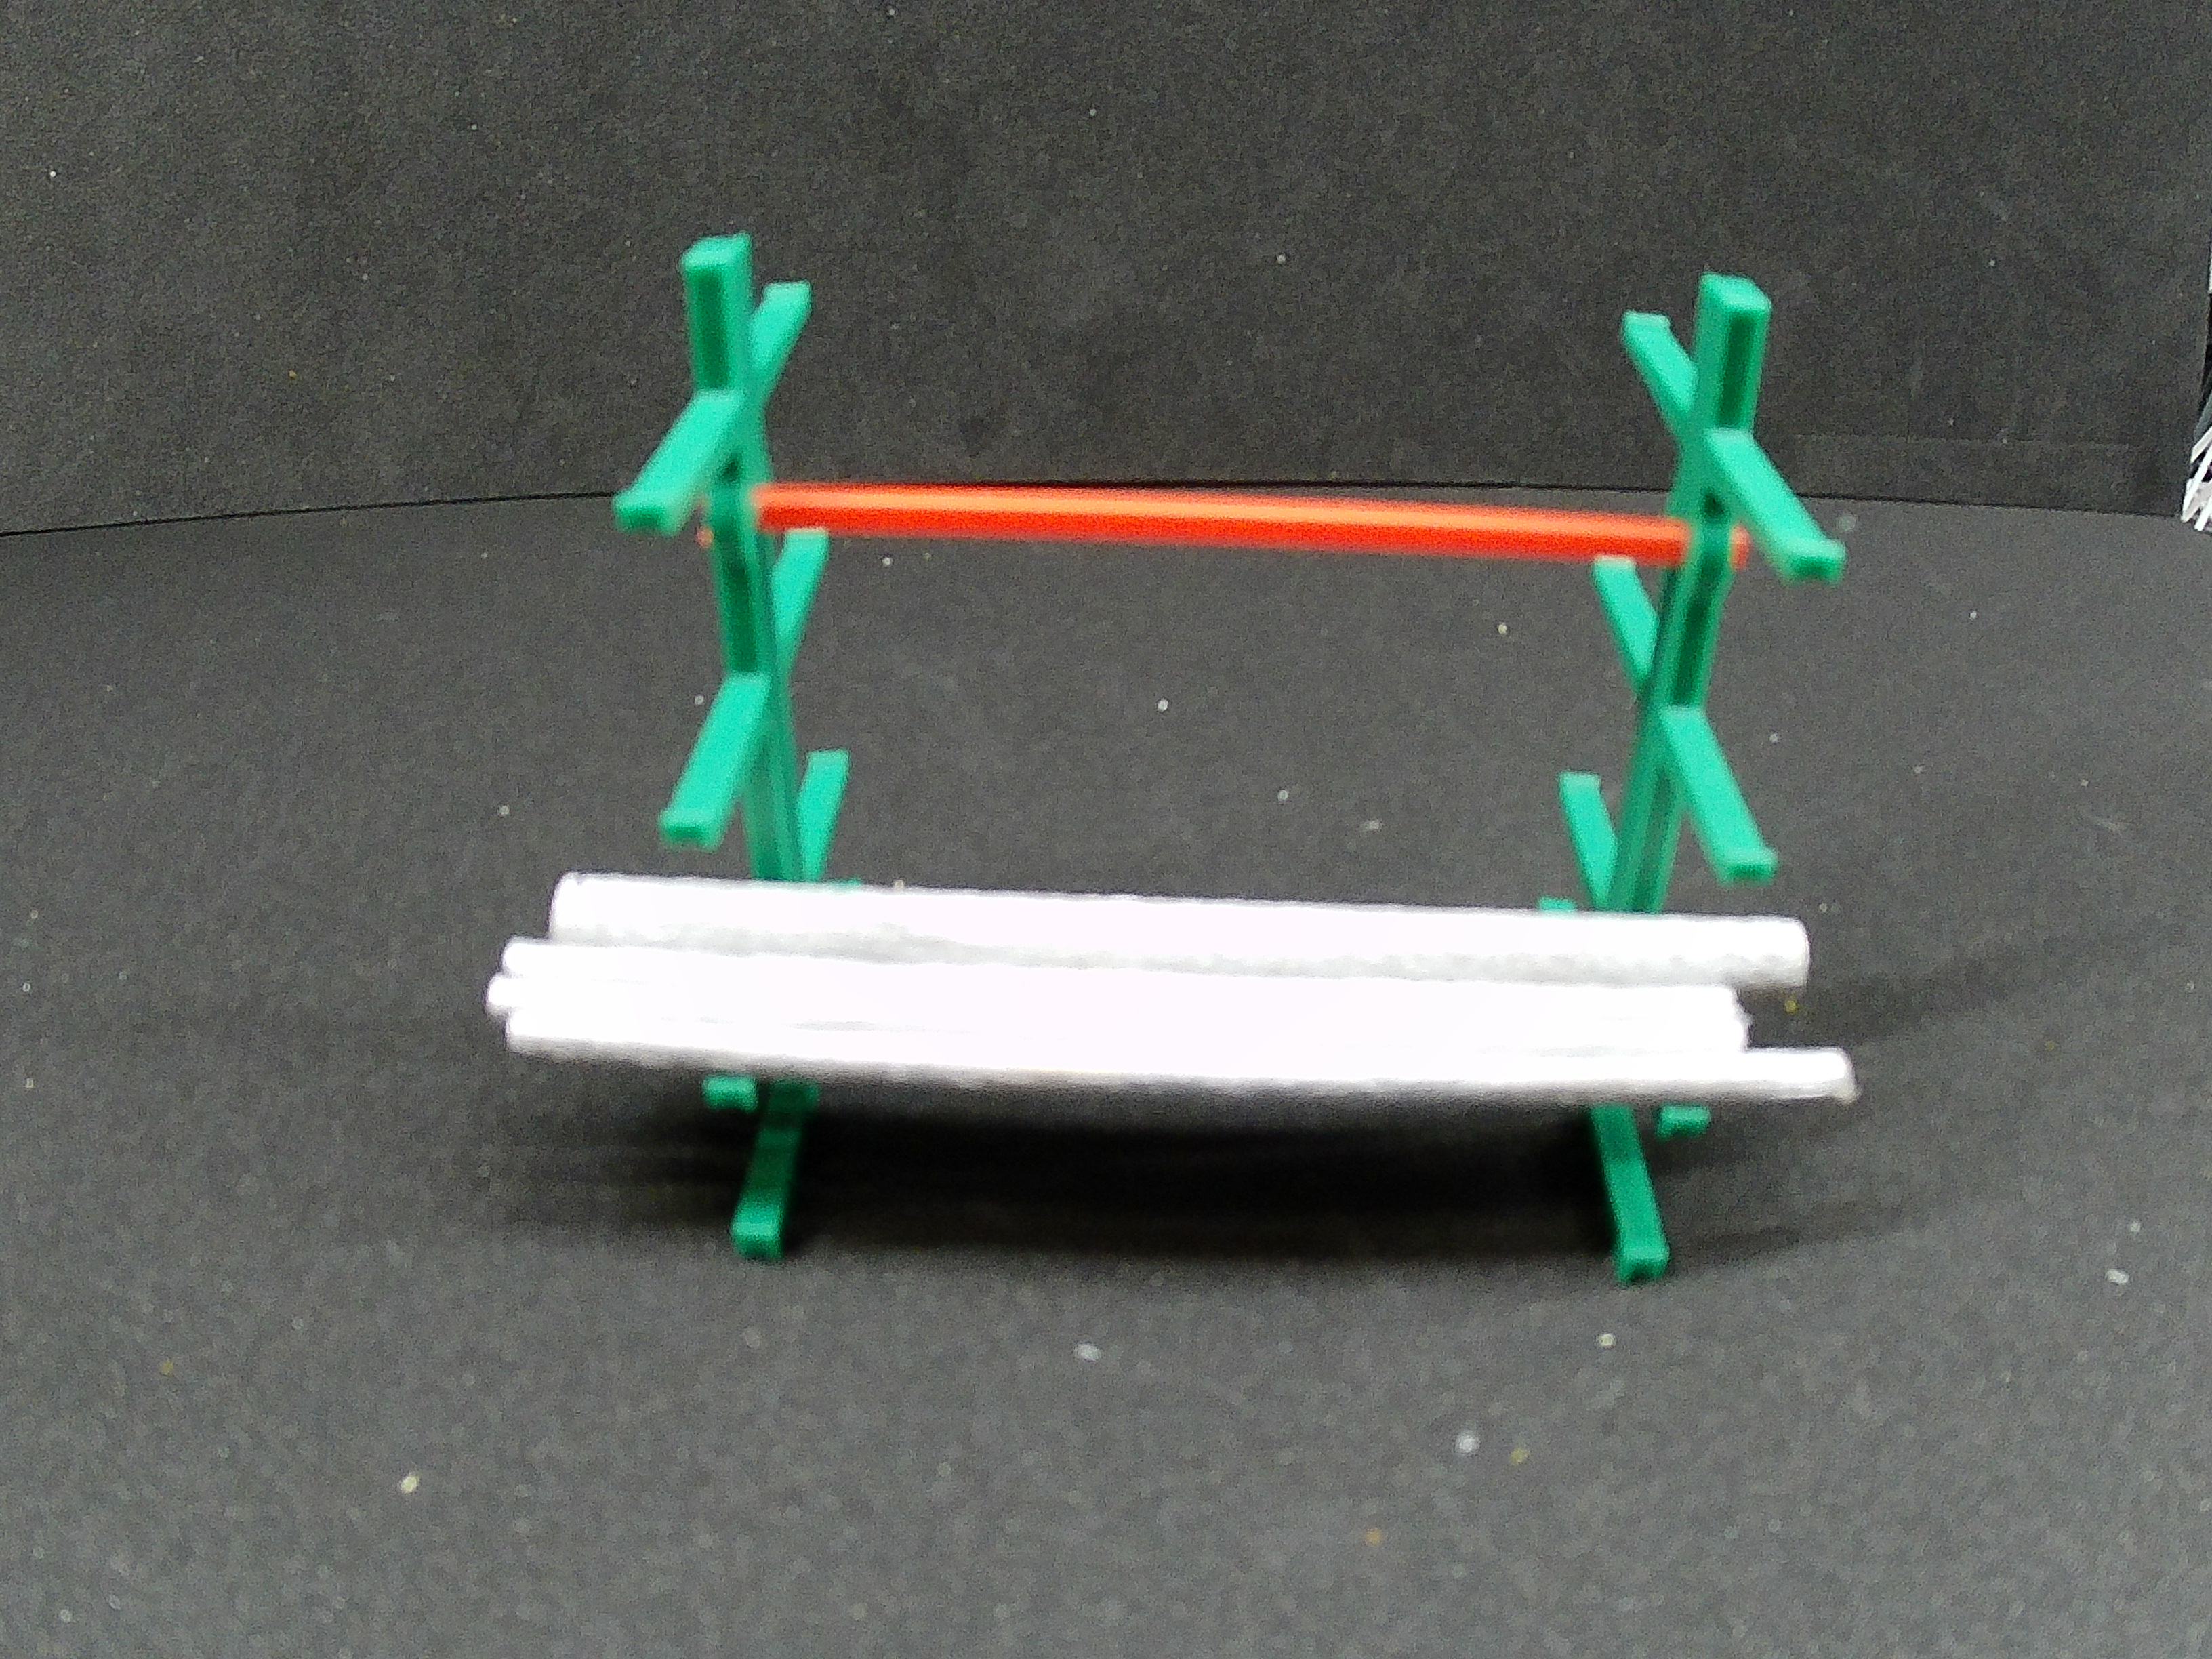
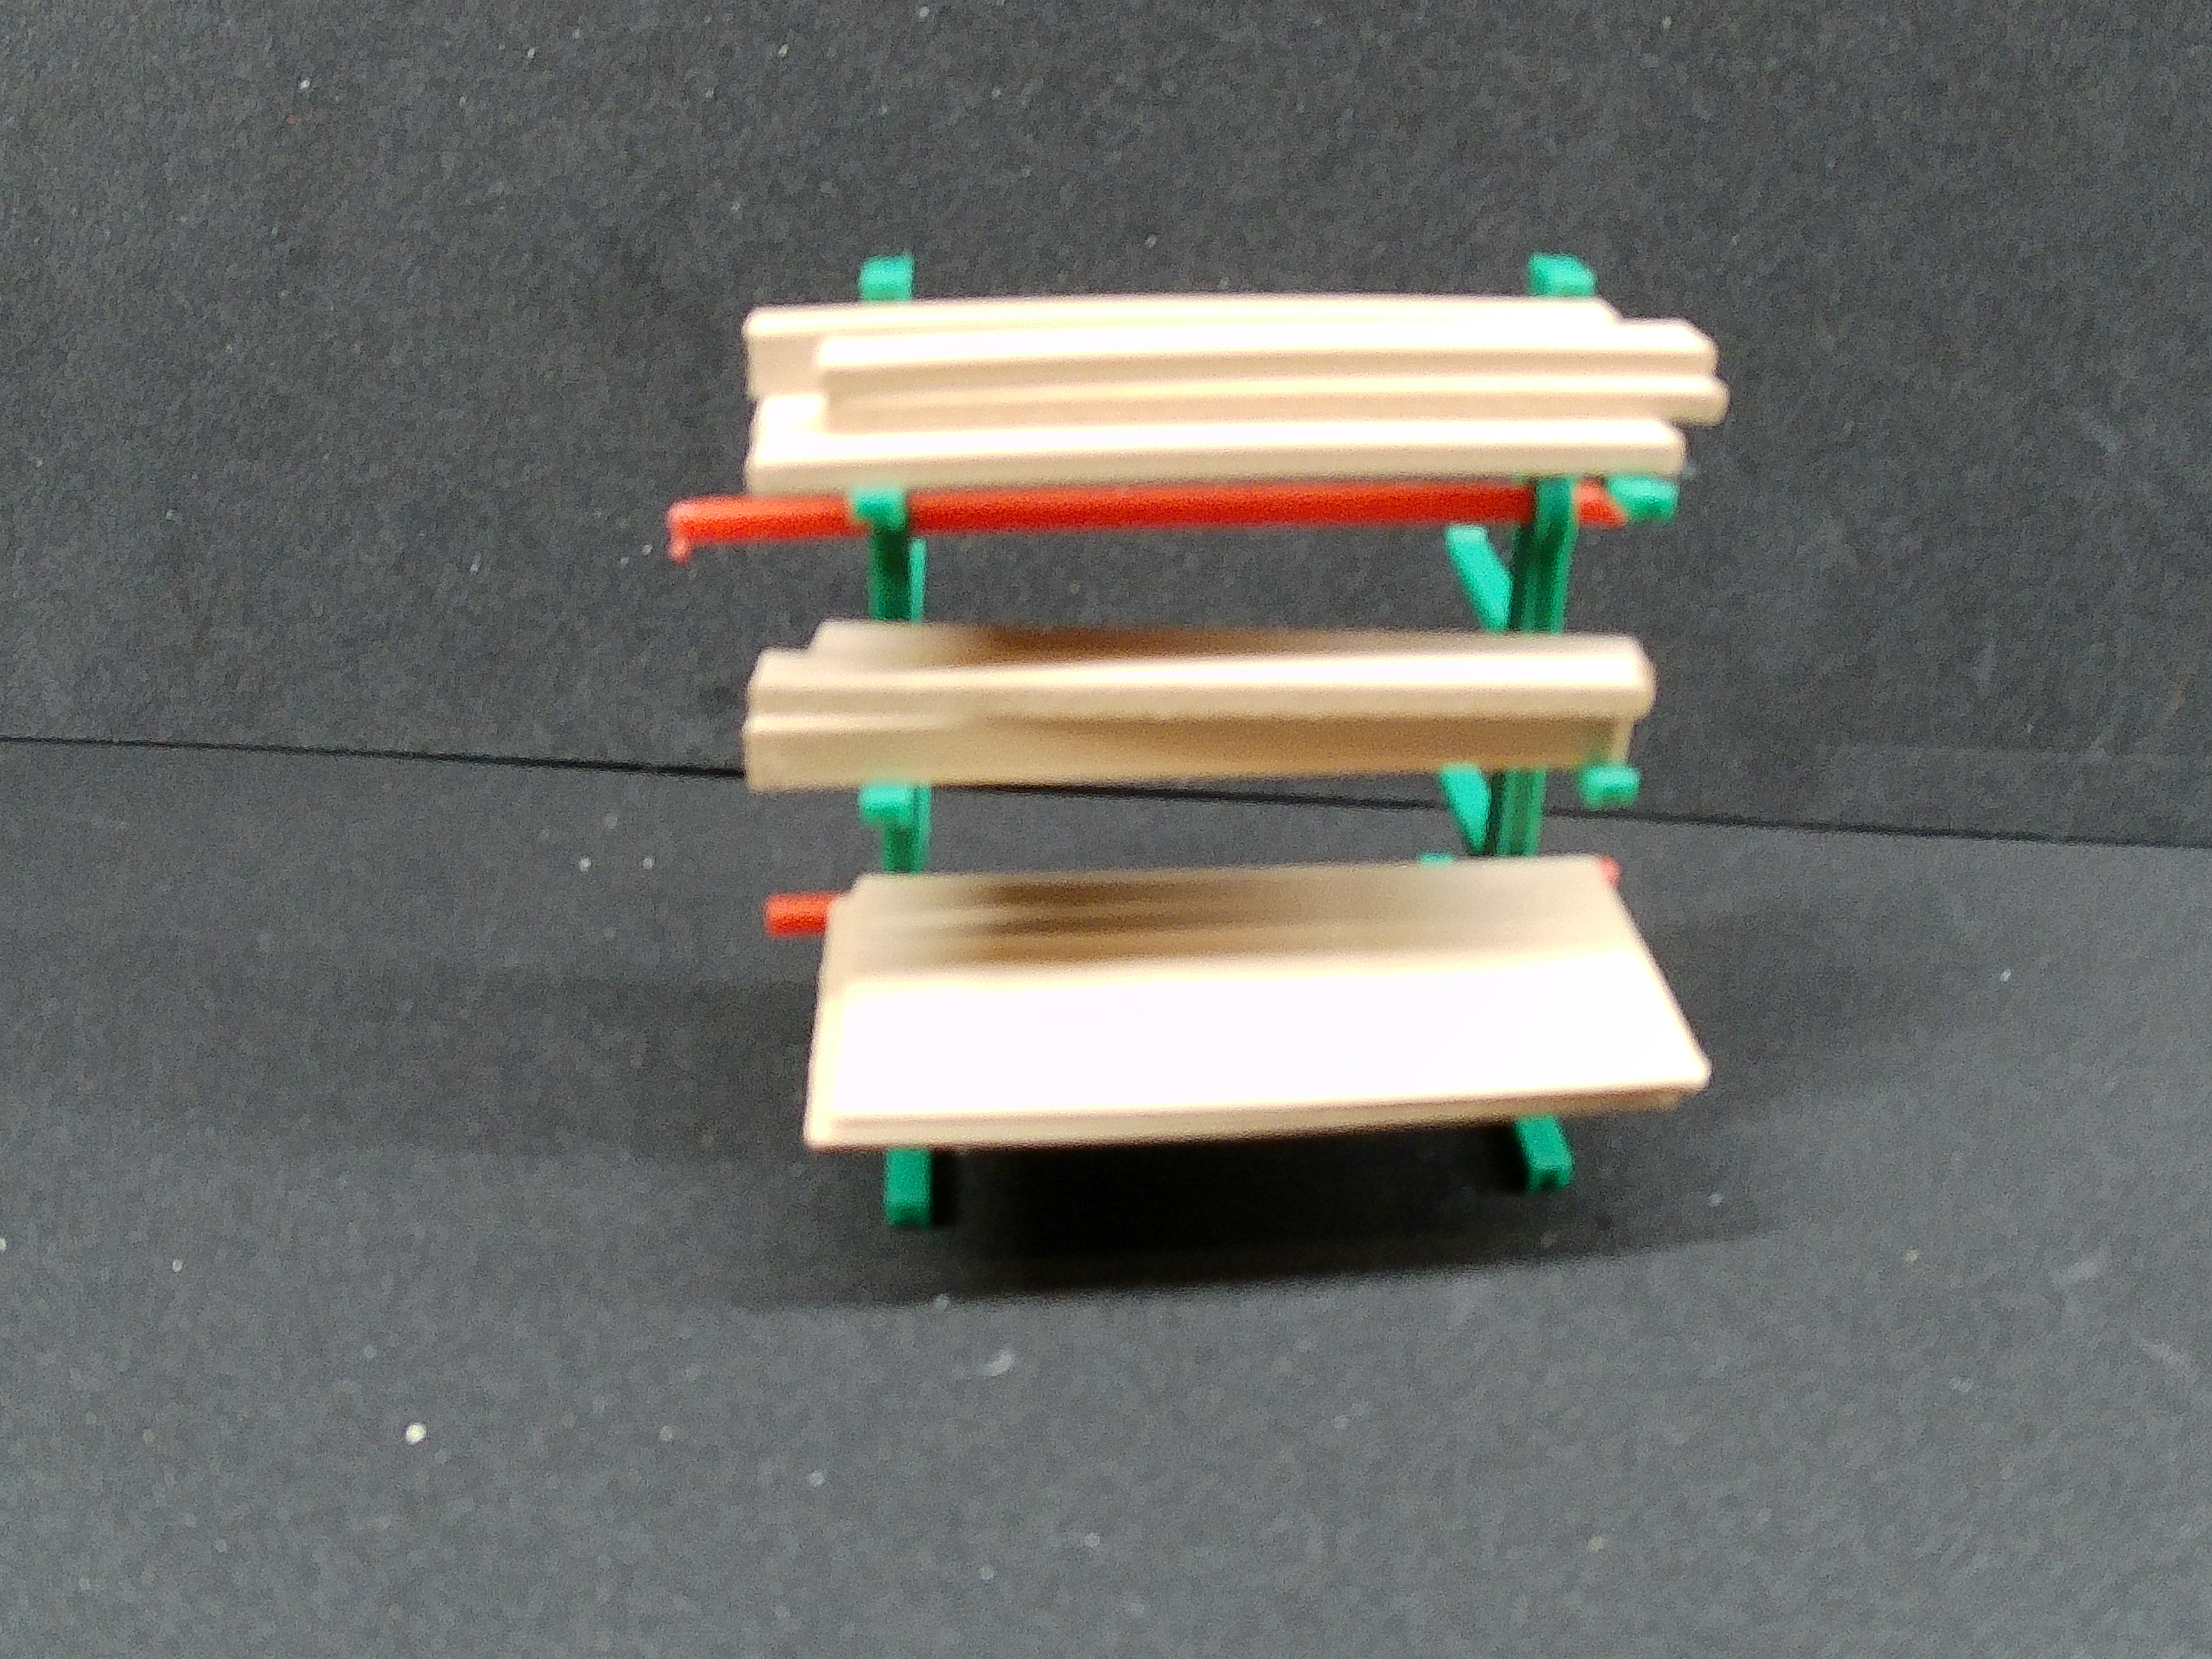
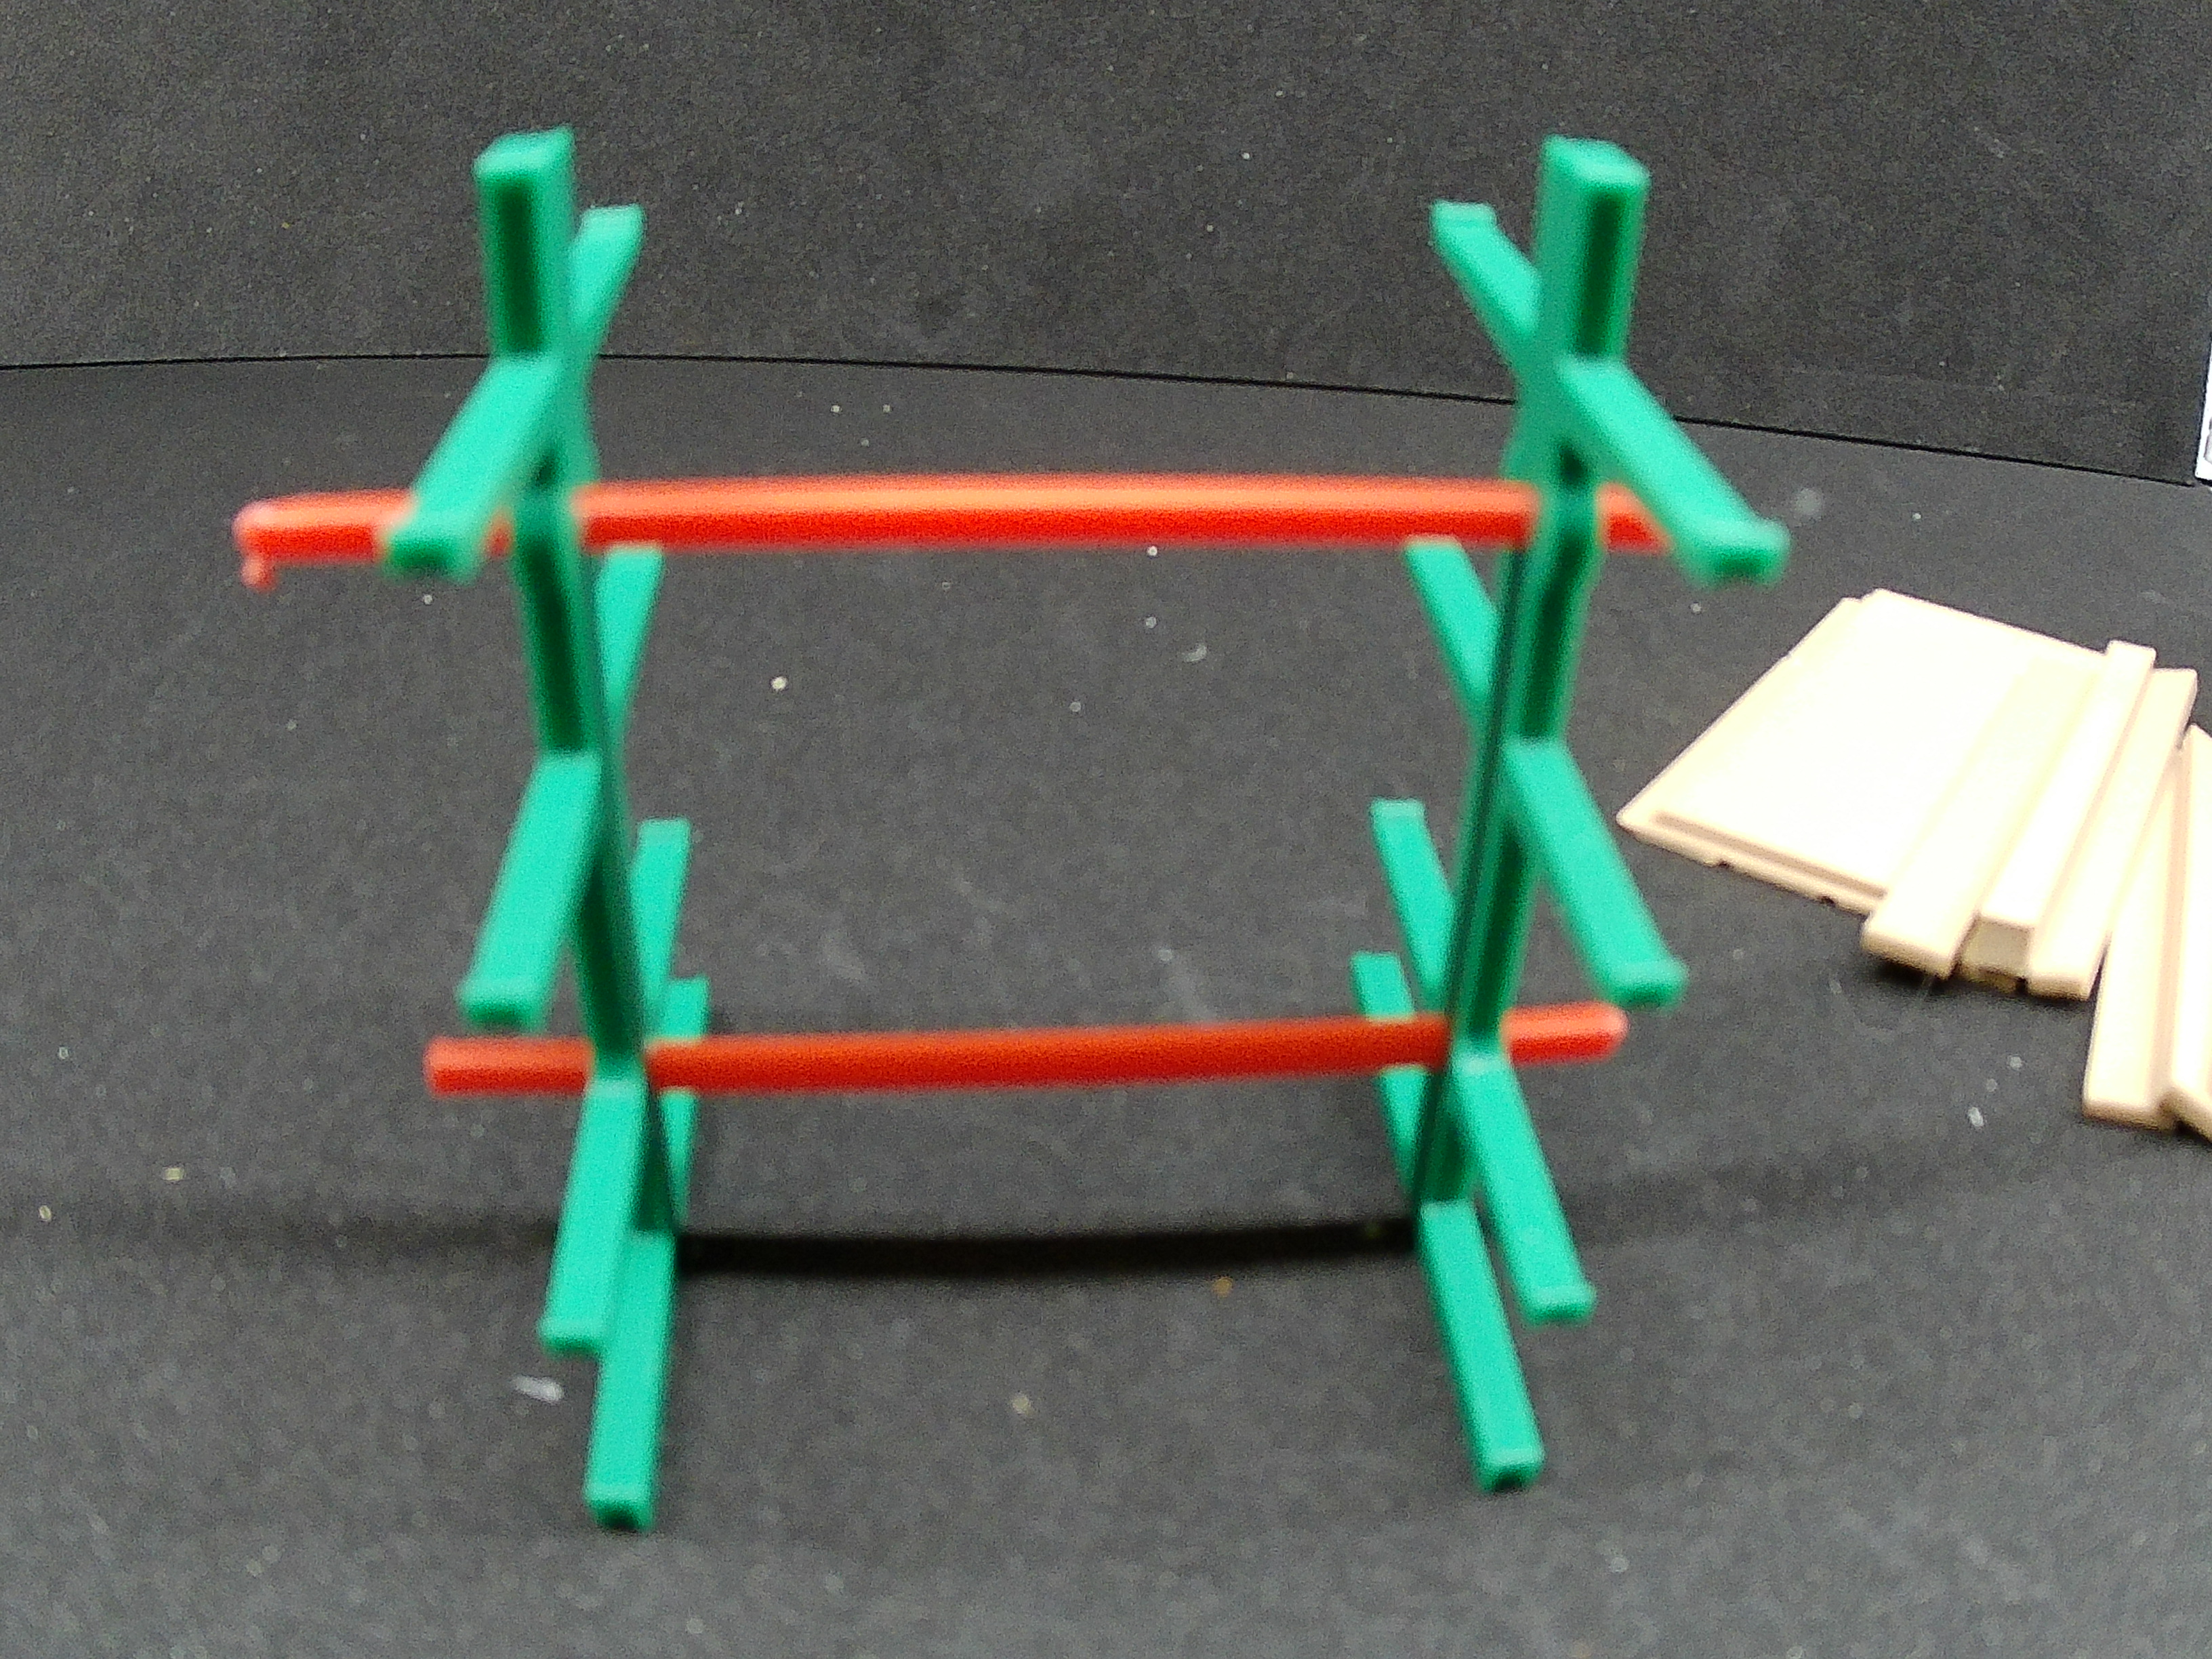

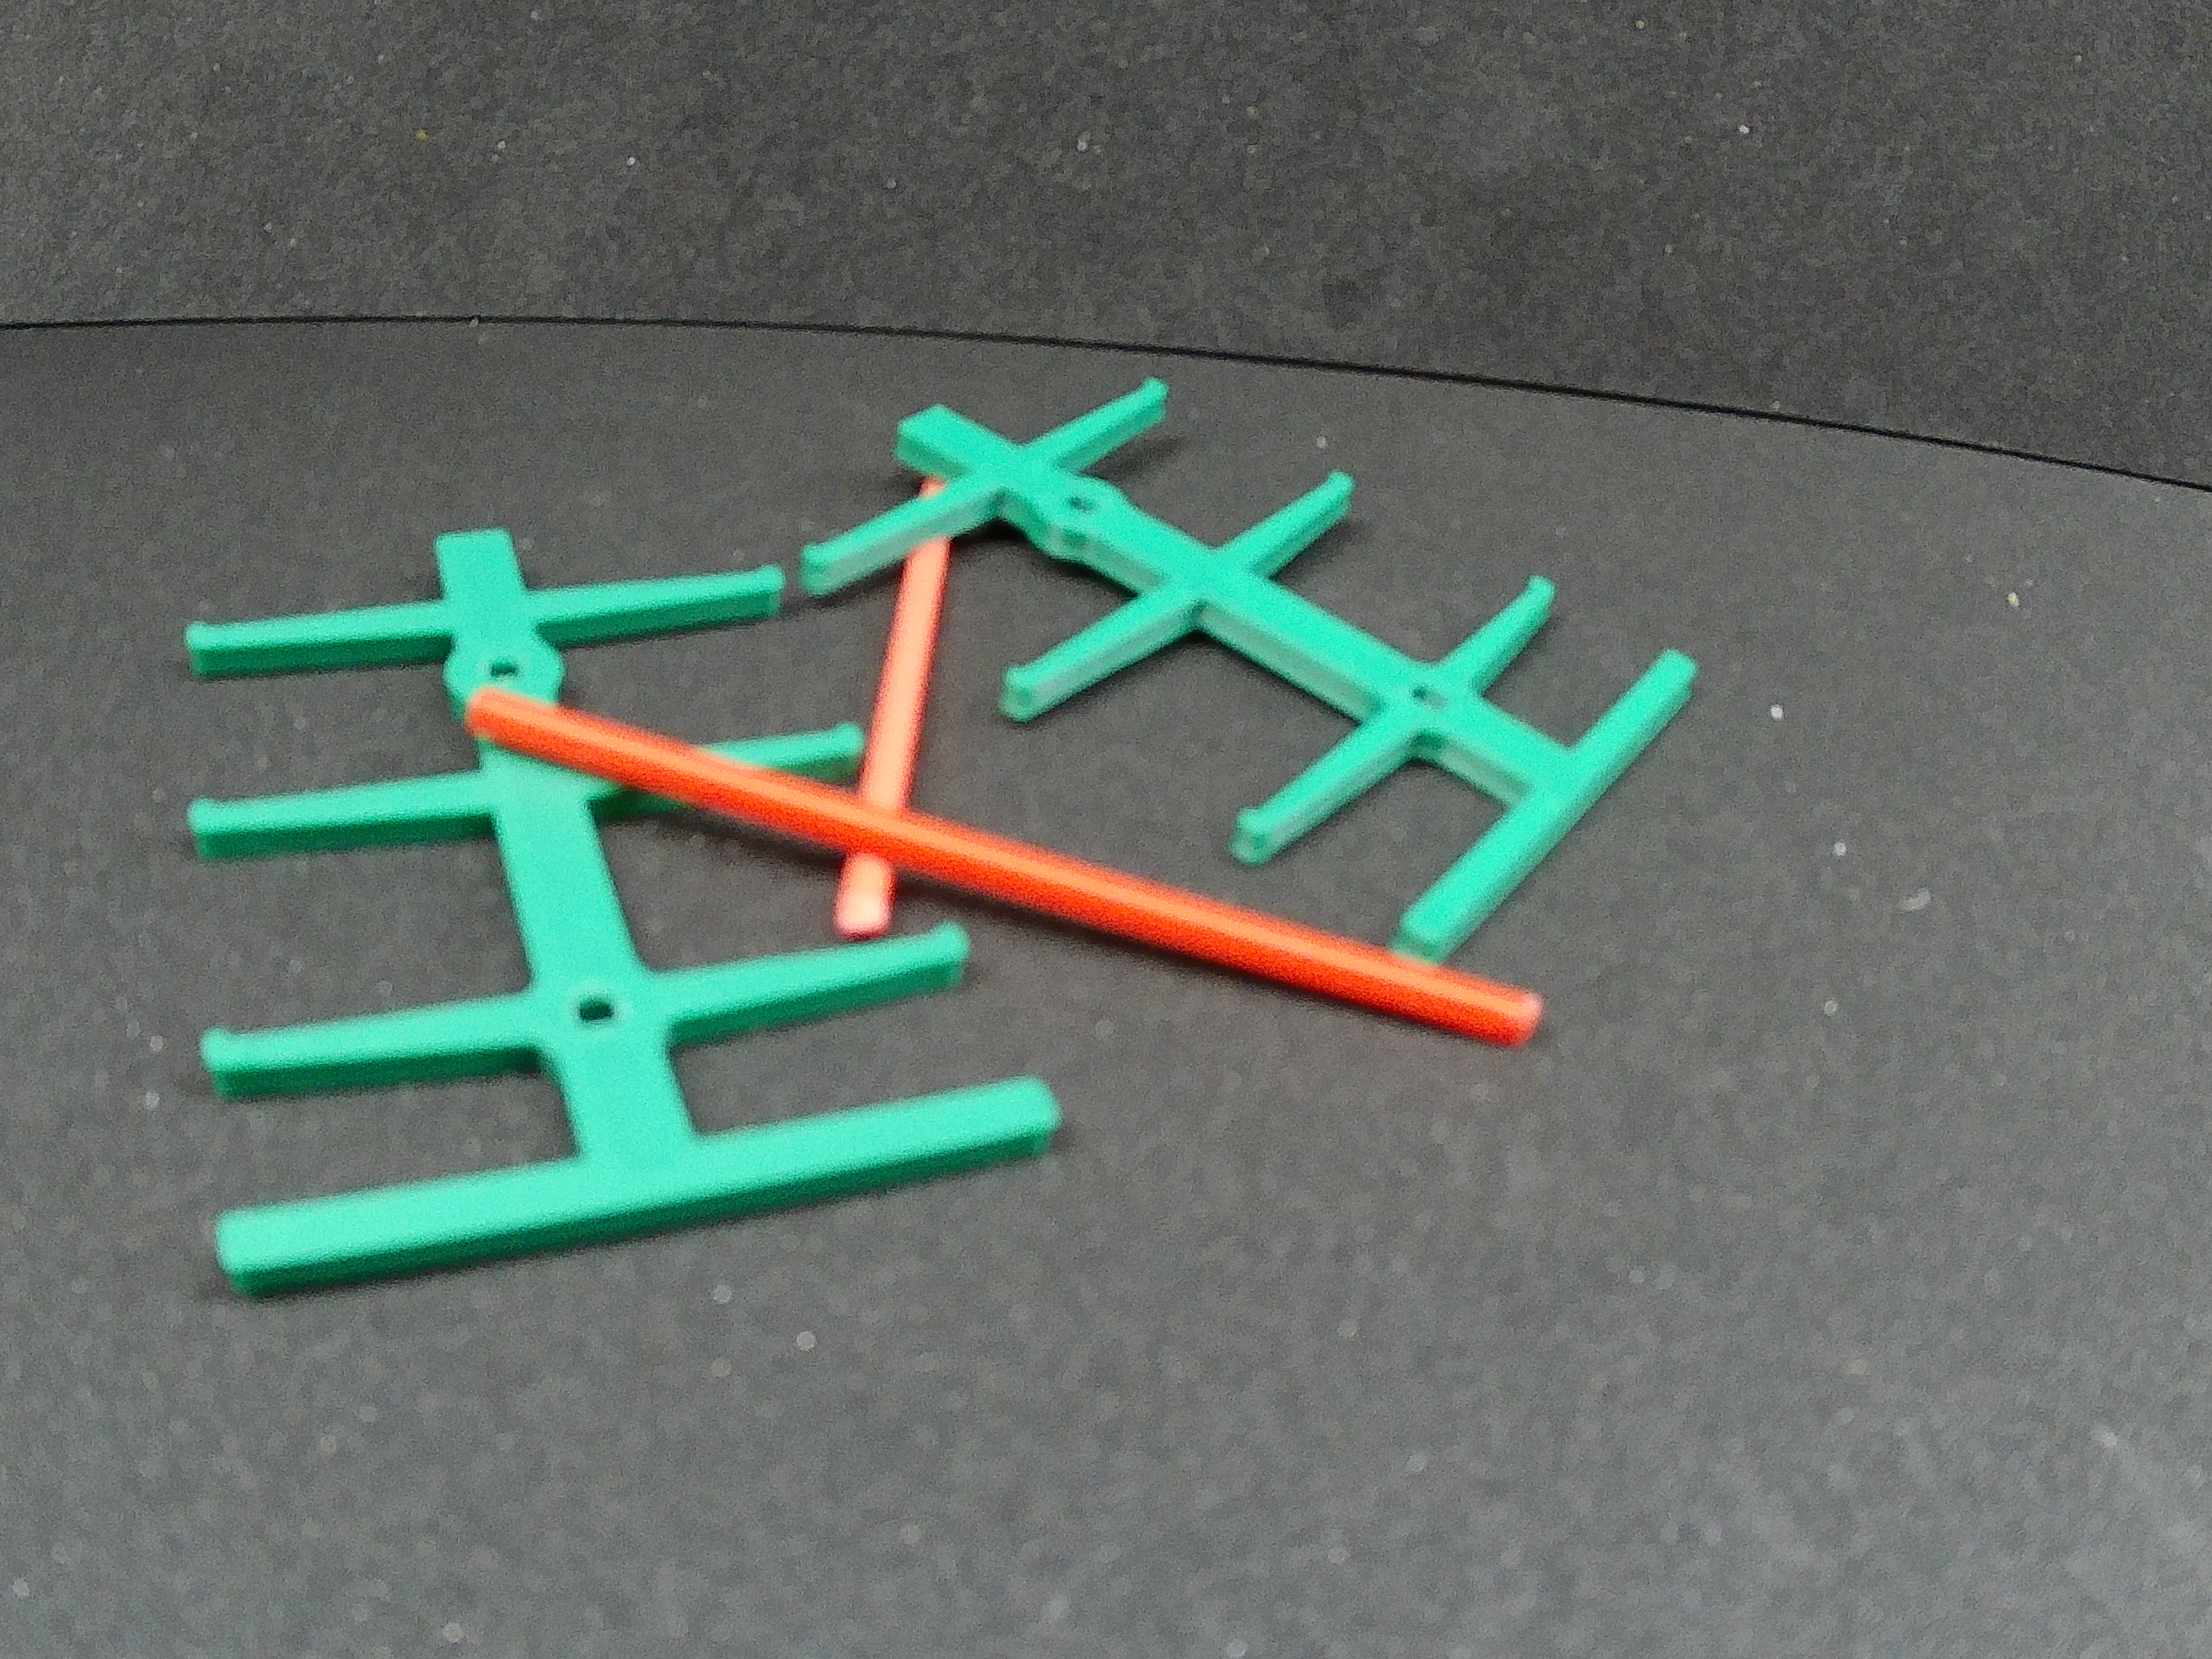

O-Gauge Doube Sided Cantilever Rack by Cinder Shops
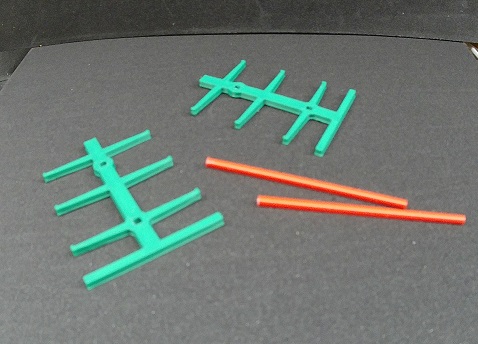
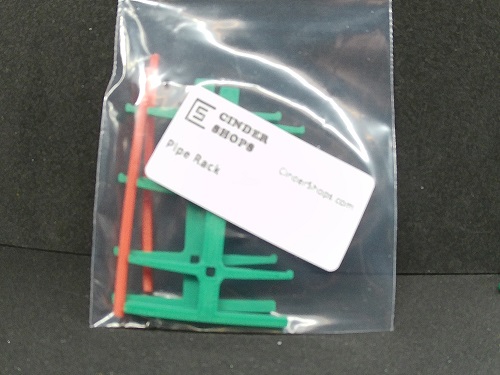
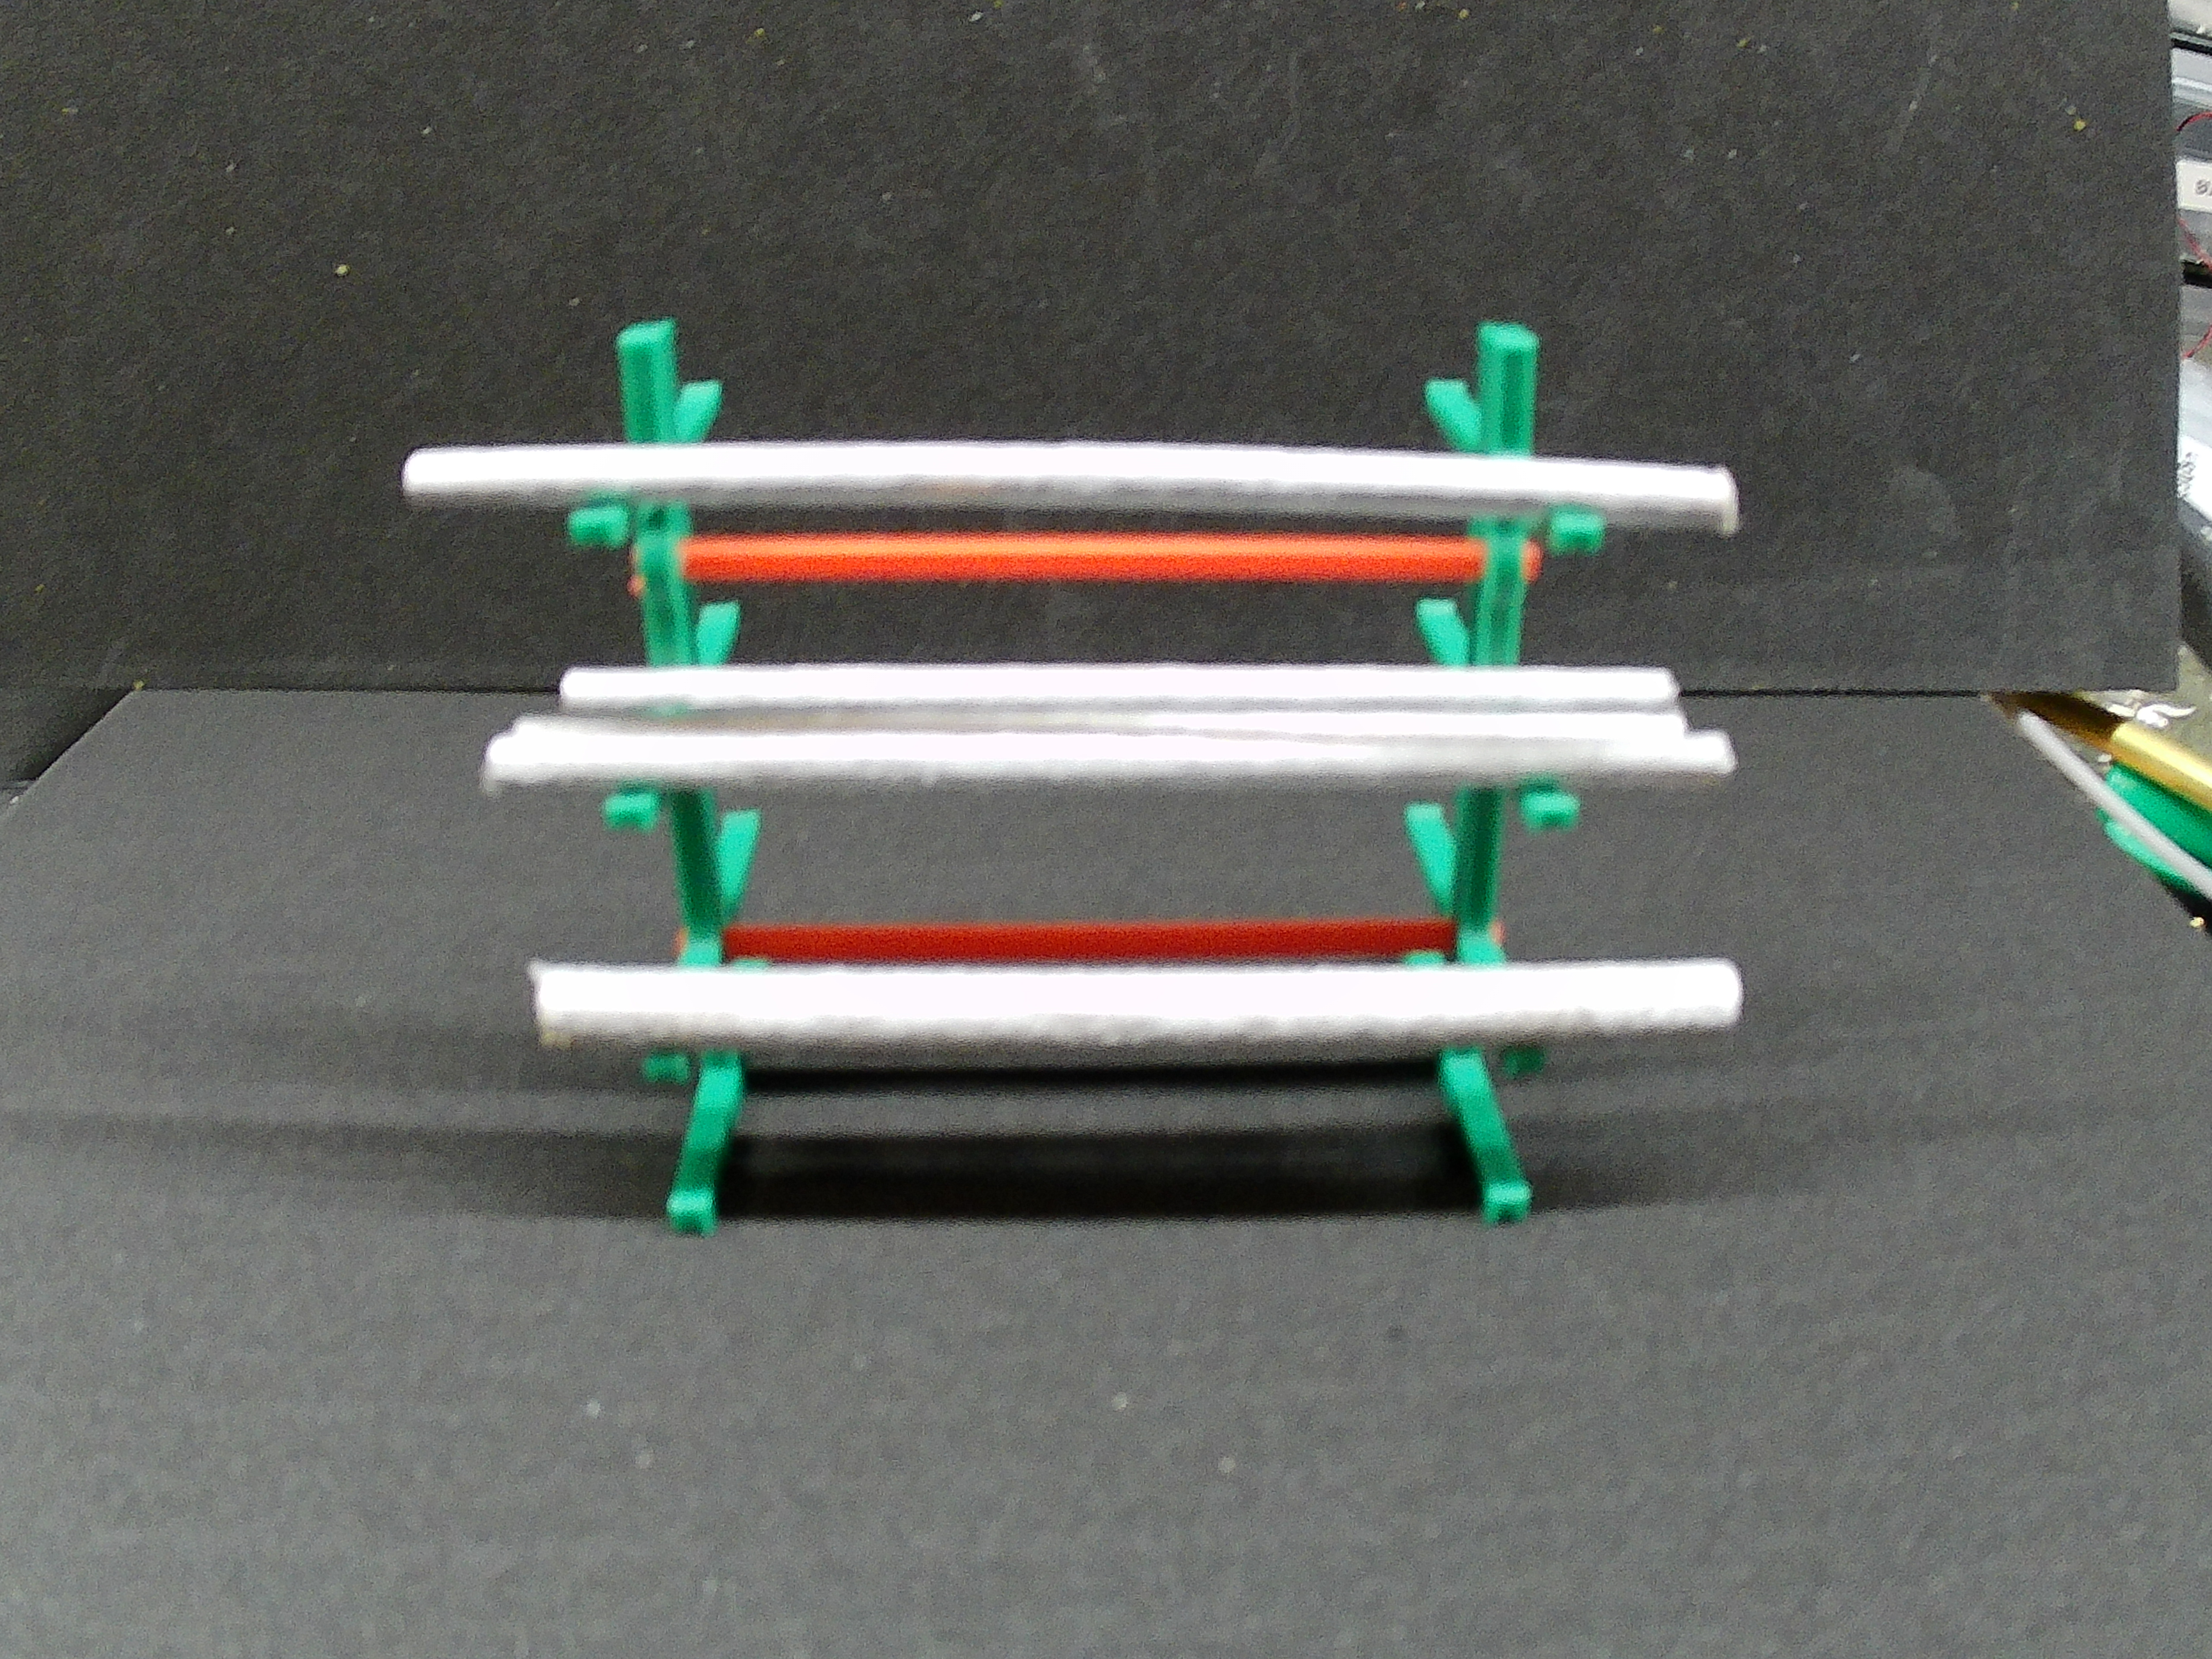
If there was one thing every maintenance shop, lumber yard, or plumbing supply had in common, it was a desperate need for floor space. These cantilever racks were the unsung heroes of the service bay. They held the long, awkward stuff—the tailpipes, the lengths of conduit, and the raw lumber—keeping it all up off the grease-stained floor and within arm\'s reach. I’ve modeled these after the heavy-duty steel racks that were built to take a beating. They were usually painted a bright, industrial green so you wouldn\'t back a truck into them, and they were simple enough that they just worked. Whether you’re detailing the back of your gas station or building out a full-scale industrial district, these racks add that necessary layer of \"clutter with a purpose\" that makes a layout feel lived-in. Versatile Shop Storage I’ve designed these to be modular and easy to set up. You can space them out to hold long pipes or keep them close together for shorter lumber scraps. They arrive in a vibrant industrial green with orange cross-supports for that high-visibility \"Standard\" shop look. Customization Tips The beauty of these racks is in what they hold. While the lumber and pipe are not included, you can easily load them up with scraps of wood, plastic stir sticks painted like metal conduit, or even some of those \"tools of the trade\" from your scrap bin. Key Features: Cantilever Geometry: Three levels of storage on each side for a total of six storage arms per upright. O-Gauge Precision: Scaled 1:48 to look right at home in any Lionel or MTH industrial scene. High-Visibility Colors: Printed in industrial green with orange spacers for a classic mid-century look. Easy Assembly: Simple \"snap-fit\" style design with cross-braces that keep the uprights steady. Included in this Kit: Two (2) 3D-Printed Cantilever Uprights (Green) Two (2) 3D-Printed Cross-Braces (Orange) (Note: These are the perfect companion for our Wooden Ladder Set and Tire Machine to help organize your busy O-Gauge service station!) ⚠️ CALIFORNIA PROPOSITION 65 WARNING: This product can expose you to chemicals including Carbon Black, which is known to the State of California to cause cancer. For more information, go to www.P65Warnings.ca.gov. Shipping Note: Remember, if your total order is over $50, shipping is FREE!

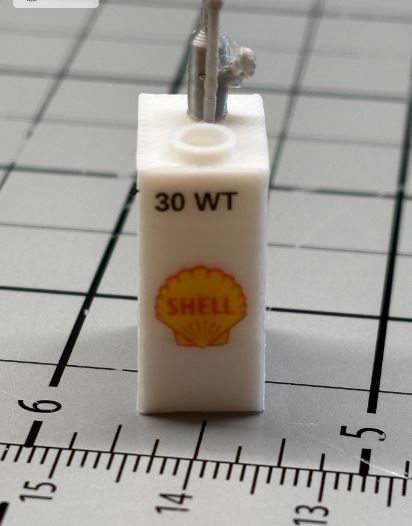
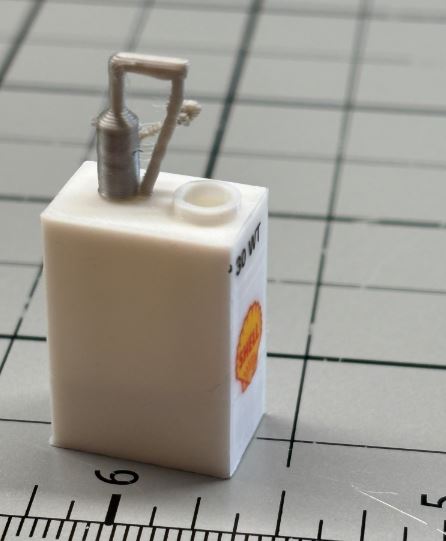
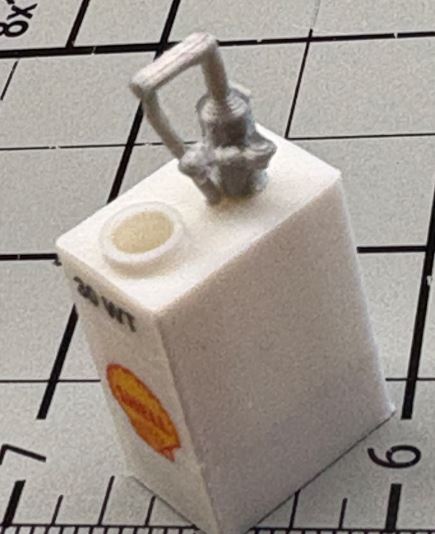
O Gauge Vintage \"Lubester\" Bulk Oil Dispenser by Cinder Shops
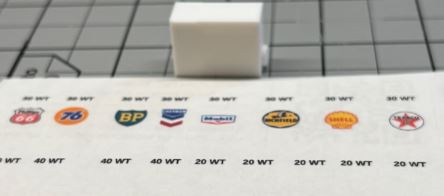
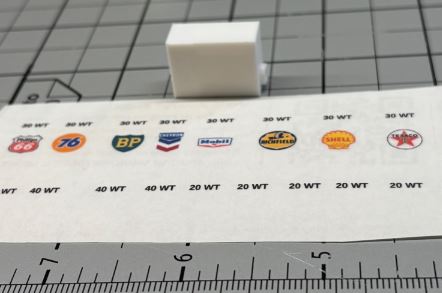
Before the Era of Plastic Waste: The Lubester. If you ran a gas station in the mid-century, you didn\'t have a dumpster full of plastic oil bottles or even paper cans to recycle. Everything was reused. These bulk oil dispensers—known to the guys in the shop as Lubesters—were the heart of the service bay. I remember the oil truck coming in every single week to top these off in Mentone, California. They usually sat side-by-side in a row, each holding a different grade of oil. The \"Part, Part-Time\" Job Memories When I wasn\'t out at the pumps, I was filling up glass bottles that looked like milk bottles with metal \"rocket\" spouts. We’d line them up out by the pumps. We also had two types of oil cans: one with a flexible spout that usually resulted in a smoky engine if you missed the valve cover, and another with a nozzle like an old railroad water tank where you had to push a button to get the oil to flow. About the Complementary Decal Set I am including a complementary set of vintage decals (Shell, Texaco, Union 76, etc.) if you’d like to use them. You are, of course, always free to find your own online, but these are scaled specifically for this model. A Word of Advice on Installation: These decals are small. Very small. I’m not saying my way is the only way to apply them, but it’s how I survived the process. If you\'re going to tackle these, here is my recommended toolkit: A massive amount of patience. A very strong set of reading glasses. A short pair of scissors and a sharp razor knife. A good set of needle-nose tweezers. A large swear jar. At least three rolls of quarters (to fill said swear jar). Key Features: Authentic \"Lubester\" Geometry: Scaled for O-Gauge (1:48) realism. Two-Piece Precision Print: Includes the main tank body and the highly detailed pump/nozzle assembly. Zero-Waste Realism: Perfect for lining up in rows of 2 or 3 in your service bay. Paint-Ready: Arrives in white/gray. These look best when painted an \"equipment green\" or matched to your station\'s brand colors. Included in this Kit: One (1) 3D-Printed Bulk Lubester Tank Body One (1) 3D-Printed High-Detail Pump/Nozzle Assembly One (1) COMPLEMENTARY Sheet of Multi-Brand Vintage Water-Slide Decals (Note: Don\'t forget to check our other listings for the Gas Station Canopy and 3D-Printed Fuel Pumps and pther props to complete your scene!) ⚠️ CALIFORNIA PROPOSITION 65 WARNING: This product can expose you to chemicals including Carbon Black, which is known to the State of California to cause cancer. For more information, go to www.P65Warnings.ca.gov. Shipping Note: Remember, if your total order is over $50, shipping is FREE!